To automate your garage door you will need a simple Z-wave relay and a sensor to determine if the garage door is closed or opened. Depending on your home controller there are many ways to accomplish this but here are two examples.
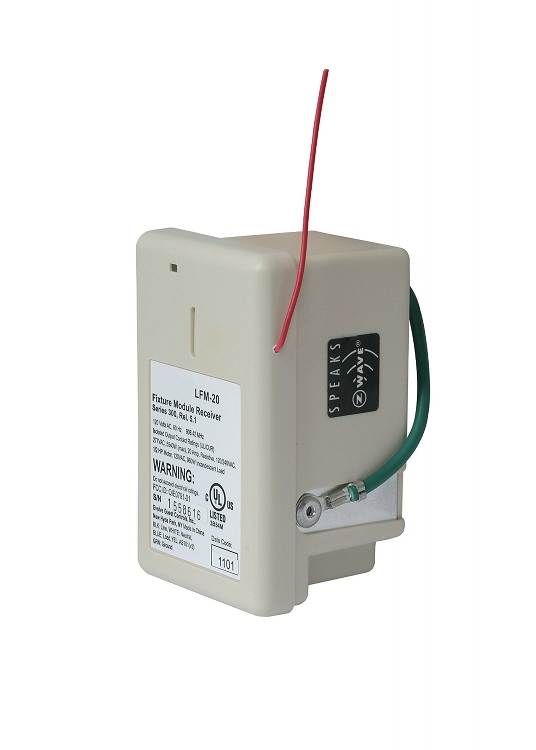
(there is more expensive version out there from Evolve called LFM-20 and I have both of them. They both do the same job so why pay more for the same functionality).
You will also need to install a plugin which controls the logic for the garage door. You could program this yourself as the logic is not very complex but why should you reinvent the wheel. The logic has to include things like trigger the garage door and let it run until it is closed and then check the sensor if the garage door is closed or open. It also has to cover the relay function as each garage door opener is different but they all have a certain logic in terms of how long a contact has to be opened or closed to perform certain actions. Just installing the Z-wave devices will NOT work out of the box.
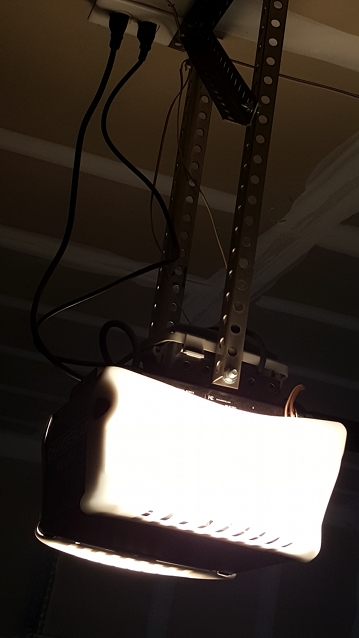
I would also recommend to purchase a project box either at Home Depot or at Amazon to put the Z-wave relay and the wiring inside. The good news is that typically each garage door outlet on the ceiling has 2 power outlets so you can use one to power the garage door opener and one to power the Z-wave relay. The project box below placed on the garage door opener was purchased at Home Depot.
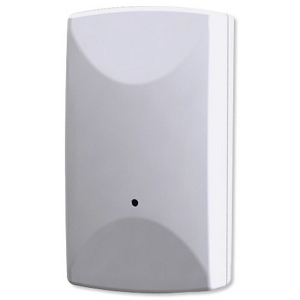
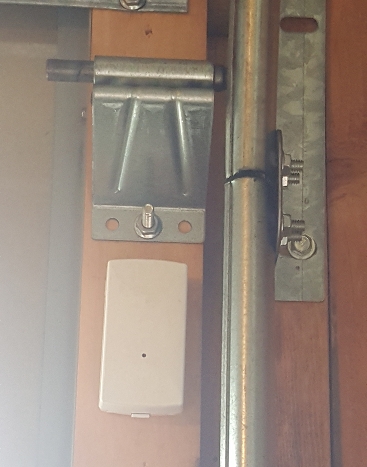
The Tilt sensors are typically battery operated and you can either screw them on the garage door or use Velcro. My battery lasted over 1 year before I had to replace it.
I would also recommend to create some logic in your home automation controller to make proper use of the setup above.
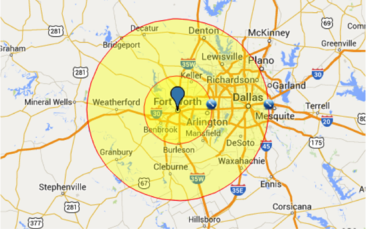
The most common use case is GEO fencing. GEO fencing is the term for location aware reaction of your home automation system.
In this example you create either one or two virtual fences around your home. The first fence is very close proximity e.g. 100 to 200 feet to capture if you leave your home. The second fence could be a couple of miles.
Most people go with one fence only but others go with a second one to e.g. set the temperature of the home to a more comfortable setting so by the time they get home, the house is nice and cool or warm and cozy.
In this case most people program their garage door to open when they approach their inner fence (or only fence). The opinions differ here because some people don’t like that as they only want to pick something up and they don’t plan to enter the home and in this case they don’t want the garage door to open.
In either case it is up to the individual to decide if GEO fencing is something useful and desirable assuming the person is ok with having location tracking enabled on their cell phone which most people don’t to save battery life.
Another use case is to warn people if the garage door is left open. There are people out there who purchase a camera just to check if the garage door is really closed or not. With the setup above you could program things like “If night and garage door open for more than x minutes then alert”. There are many ways to notify people and many rules you could create and again it depends on the end user but I hope the examples above sparked some ideas.
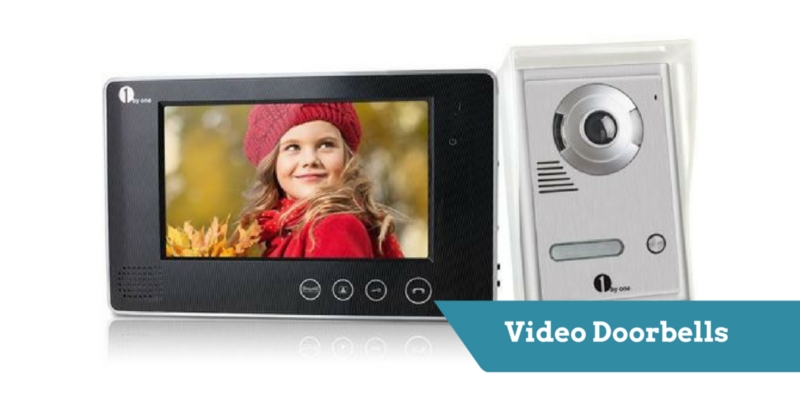
After trying a variety of doorbell systems on the market ranging from Doorbot now Ring, Skybell, etc. I decided to create my own intercom system which integrates into my home automation system. The reasoning for that was based on not having the ability to integrate any of those Out-of-box doorbell solutions into any existing home automation system without major hassle.
For example almost all of those vendors promised for over 1 year now that they will release an API to 3rd party vendors can integrate to. They never provided any date and as a matter of fact they all changed their hardware and didn’t release any APIs.
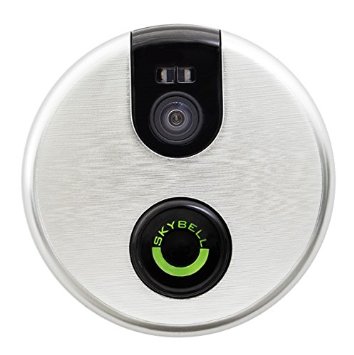
Doorbot is no longer available and Ring is completely redesigned. Skybell is now at revision two of their hardware due to issues and on top of that some of those vendors don’t comply with standards. A great example is Skybell where they are changing multiple times per day their MAC address. Although intended to be a permanent and globally unique identification, it is possible to change the MAC address on most modern hardware. Changing MAC addresses is necessary in network virtualization. It can also be used in the process of exploiting security vulnerabilities. This is called MAC spoofing.
MAC addresses are formed according to the rules of one of three numbering name spaces managed by the Institute of Electrical and Electronics Engineers (IEEE): MAC-48, EUI-48, and EUI-64. EUI is an abbreviation for Extended Unique Identifier.
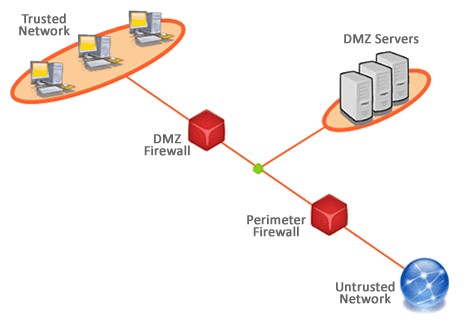
The real issue with Skybell is that they change their fourth digit of their MAC address multiple times per day from 0 to F randomly which makes it impossible to add the Skybell into the DMZ of your firewall of your router which is THE recommended solution of that company to ensure you can see and hear visitors when you are not at home and you want to talk to those visitors on your phone app.
After all of this and more negative experiences I decided to use a combination of hardware and software to accomplish my goals.
Required hardware:
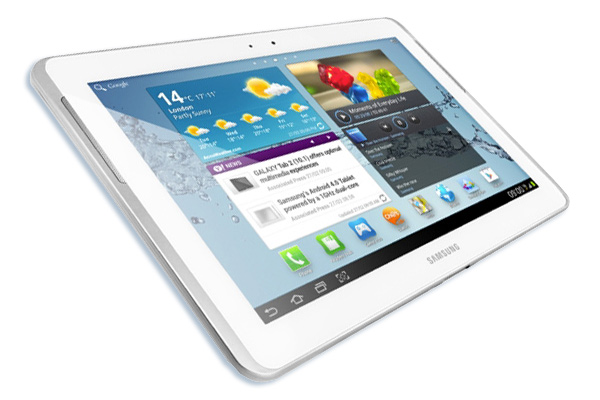
You can buy cheap no-name tablets off Amazon starting at $60 for 10.1″ inches unless you want to go with smaller tablets.
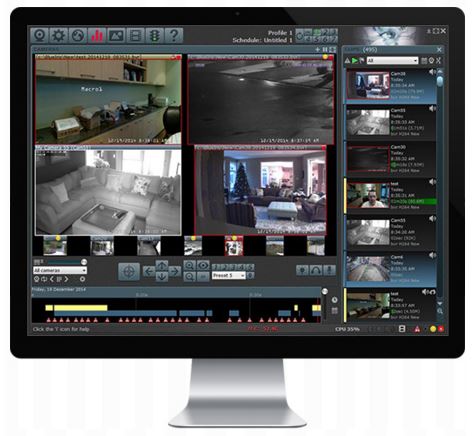
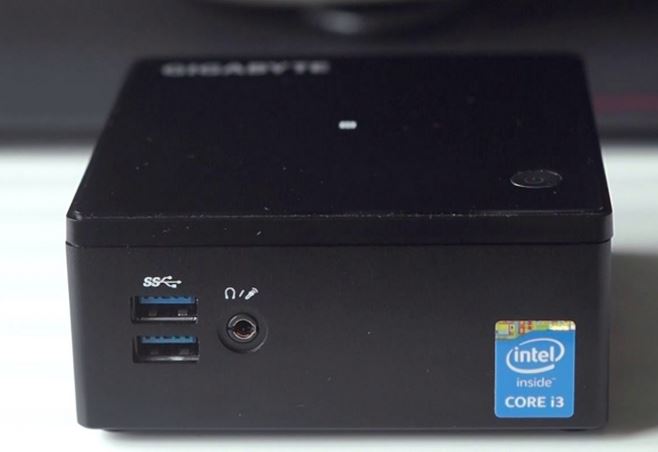
You will need a BlueIris server which is one of the best video surveillance NVR solutions out there but I am sure you can do the same with a DVR solution instead of a NVR solution.
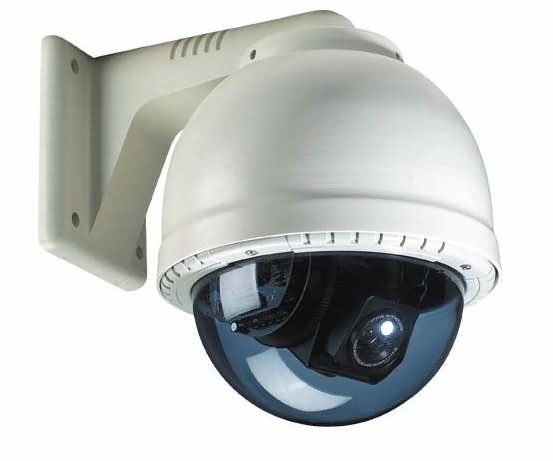
At least one camera at the front door and this camera should support 2 way audio communication
Required software:
BlueIris software ($60)
Tasker app from the Play Store ($3)
AutoVera app from the Play Store ($2.78)
BlueIris App from the Play Store ($9.99)
(sorry, but I am not an Apple/iOS guy anymore)
High level concept:
The doorbell press triggers a scene in Vera which can do a variety of things.
In parallel to that trigger you configure AutoVera to toggle notification on the “Doorbell” device which is the SM-103 from my previous post.
This notification then triggers Tasker which then triggers the opening of the BlueIris App on the tablet.
Within BlueIris you can define groups of cameras which then allows you to configure the App on the Tablet to start the desired camera in full screen mode.
Challenges with this approach:
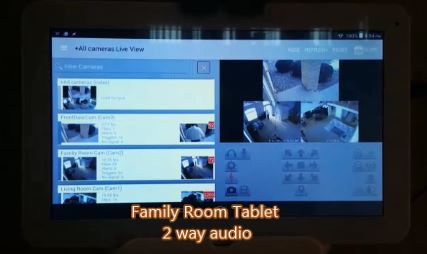
The 2 way audio communication is highly dependent on the camera hardware and its audio capabilities. Most cameras claim audio support which is great and their microphones pick up sound fairly decent in most cases but unless you really invest in an expensive camera, you will have echos coming your way. The more expensive cameras do have “AEC” which is Acoustic Echo Cancellation as a feature and some of them also have “VAD” which is “Voice Activity Detection”.
Without those features you will have Echo when you open the BlueIris App on the tablet and you enable the 2 way audio communication. So unless you spend more money for a more sophisticated surveillance camera, your only option is to use the speak button on the tablet for your speech and you disable it after each sentence. In other words use the app like you would use a walky talky.
You should also check which camera has a built-in speaker or how do you want to connect an outdoor speaker to that camera. Most indoor cameras have very low quality speakers while most outdoor cameras don’t have any speaker at all but they have connectors to third party speakers.
Here is a video showing the working solution and you can hear the sound from outside on one of the tablets ready for 2 way audio communication.
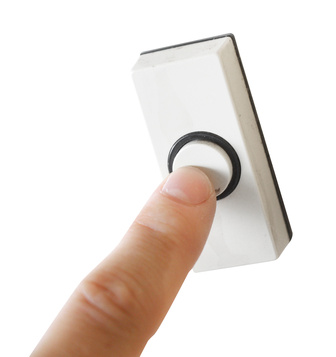
To integrate your existing conventional doorbell into any existing Z-wave eco system, you have a variety of options to go about it. The method I chose was the easiest while requiring a little more hardware in terms of having to mess with timeouts, repetitive doorbell pressing, too long presses of the doorbell, etc.
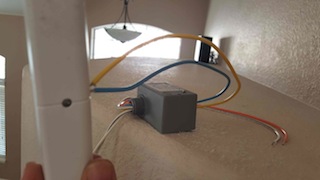
The N.C. terminals of the relay are wired to the external terminal connector on the Everspring window/door sensor, preventing the sensor from always showing as tripped in the home automation system.
The relay is powered from the existing 24V power in the doorbell when the button is triggered and it also covers quick presses or long presses which otherwise could cause scene issues with your existing home automation system.
Connect the “white with blue stripe” wire and the “white with yellow stripe” wire from the relay to the transformer terminals. Then connect the solid “yellow wire” and “solid blue wire” from the relay to the wire input terminal on the Everspring door/window sensor.
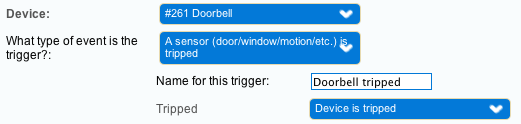
Integration into Vera or any other home automation is a breeze now. You create a trigger scene.
Once the doorbell is being pressed the SM-103 will change state which you can detect with a trigger and then this could start any desired scene. As you can see in the video below the doorbell triggers a scene which makes Sonos speakers announce that somebody is at the door. You can control lights, etc as well.
If you want to get really fancy you can use PLEG and after you install the night/day plugin on Vera you could do things like “If night and doorbell pressed then enable front door light and announce on speakers” otherwise “doorbell pressed then announce on speakers”.
You will also see in the video below that the doorbell triggers the tablets to open the video app to show on all tablets in the house who is at the front door. I will cover this in the next post on how to integrate a video intercom system with the doorbell system.
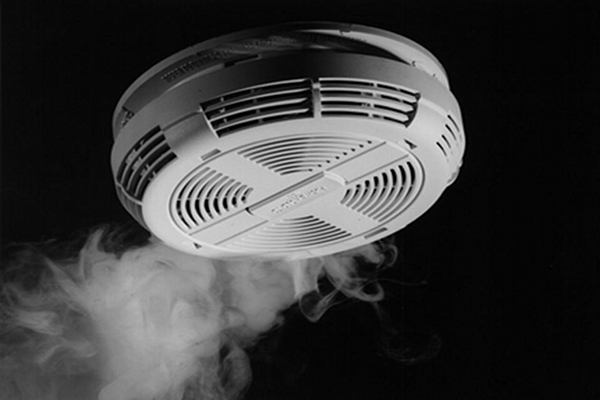
A friend of mine and I were discussing integrating Fire Alarms into our Vera’s but we didn’t want to spend money on buying Z-wave enabled Fire Alarms especially with 7 or 8 of them per house.
After going through a couple of options and ideas we came up with the following solution:
1) 1 x Door/Window TR Sensor RS100HC (disregard all the notes about Nexia) = $38
That’s it!
Typically most Fire Alarm detectors are daisy chained together. If that’s the case you have with a single Z-wave device all of them integrated into your Vera.
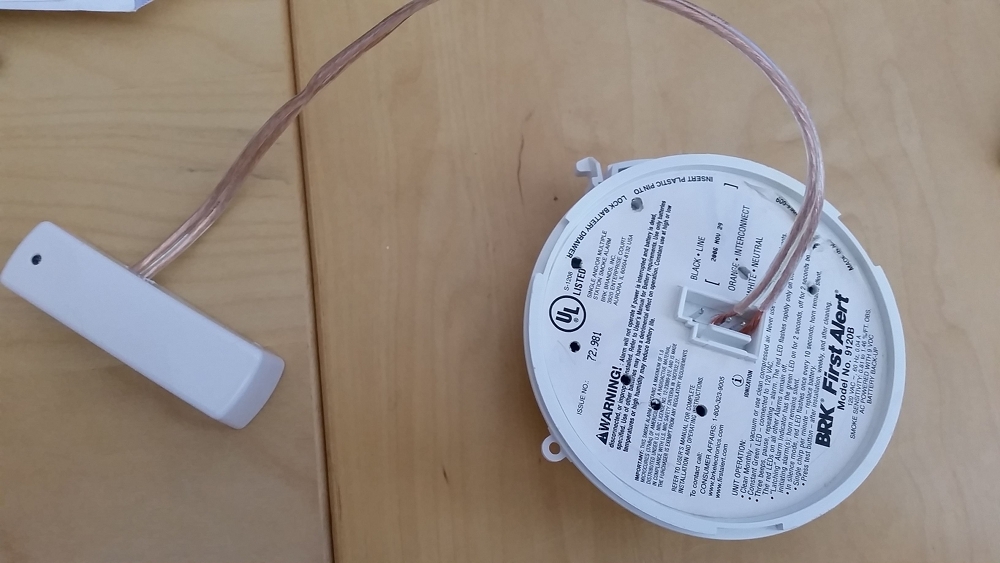
The reason why I chose this Z-wave device is because of the cable connectors inside the device (you can throw away the magnet) but I should point out that you need to close the device and make a small hole at the side for the cables or it won’t work at all.
First picture you see the logical test conducted and those 2 cables (see pic) trigger the Z-wave and the second picture shows how I embedded this in my basement Fire Alarm.
Result: It doesn’t matter which Fire Alarm goes off, Vera will get notified. I hope you find this information useful as it saved me about $700-$800 replacing fully functioning Fire Alarms. If you do, press the + sign under my name on the left 😉
Note: If your Fire Alarms are already integrated into your Alarm System I would suggest to integrate your Alarm System into Vera which should expose those automatically. This is what I had in my last house but not in my new house.
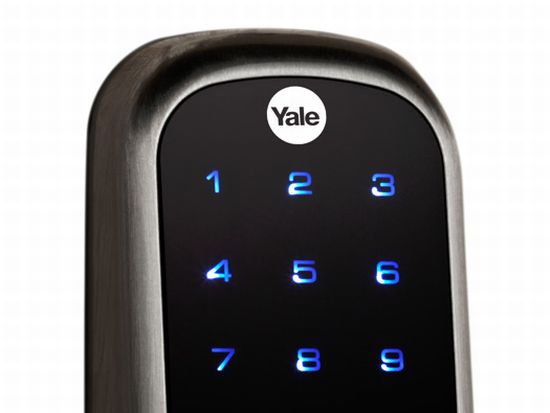
The kitchen door lock installed and synced without any problem but the front door lock didn’t work at all. I tried over 40 times over 2 weeks before I gave up.
Then I called support and here is what I learned and what we troubleshooted.
A) When you disconnect Vera and go into battery inclusion mode the sync process is NOT complete when the lock says complete. The manufacturer recommends to let it sit next to the lock for at least 5 min. My tests showed that 2 min is sufficient but don’t take any risk here and go with the 5 min please.
B) Despite it synced when I plugged Vera back into the power and ethernet mode in the final location, it stopped in various startup phases ranging from Setting up users, securing communication, etc.
C) You will find in this forum one user where a baby camera interfered with the Z-wave so I disabled our wireless baby camera completely and it didn’t help either. Was worth a try.
D) I took the Z-wave modules from both door locks and switched them to check if the front door lock module is faulty so I did a factory reset on both and tried it again. Again, Kitchen Door lock worked, but Front Door lock did not.
E) I called support again and they shipped me a replacement lock as they had no other ideas either
F) Then I took a long ethernet cable and a long power cable and I powered up Vera right next to my front door and it worked. So instead of using the battery inclusion mode, I used the in place inclusion mode right next to my door. When I put Vera back where she should be, it stopped working again. This implied to me that something is blocking the communication. I used the original lock and the replacement lock for this test. Outcome was the same for both locks at the front door.
G) At this point in time I was considering to move my Vera to a different location but then I read about “Beaming” which is a required feature for battery operated Z-wave devices. I checked all my Z-wave devices and none of them supported beaming at that time. I was going to buy a new Z-wave controller for my Living room lights anyway so I purchased one which supports beaming.
Here is the outcome:
The 10 feet between Vera and the front door is not too far but in between we have our washing machine and dryer which clearly blocked the communication in some form or fashion. The new Z-wave scene controller I purchased is NOT in line so I used the neighbor path option to connect to the front door lock via the new Z-wave controller and voila it worked. I tried both the original and the replacement lock and with the new z-wave scene controller I was able to make both of them work so there was no need for a replacement lock.
This shows yet again that the more devices you add to your Z-wave network the more robust it gets with the exception of having to account for beaming support for battery operated devices.
You might not have the same issue but I hope my steps above might help you to resolve your issue.
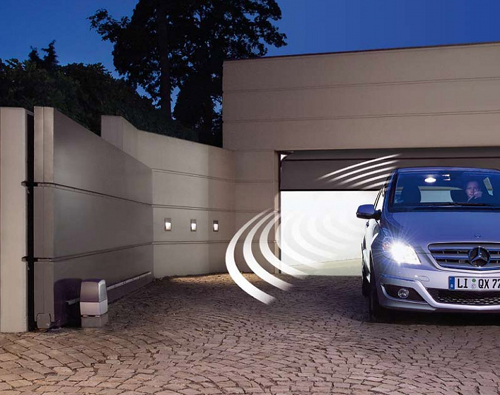

 In this example you create either one or two virtual fences around your home. The first fence is very close proximity e.g. 100 to 200 feet to capture if you leave your home. The second fence could be a couple of miles.