BlueIris + Logitech + AuthomationHD
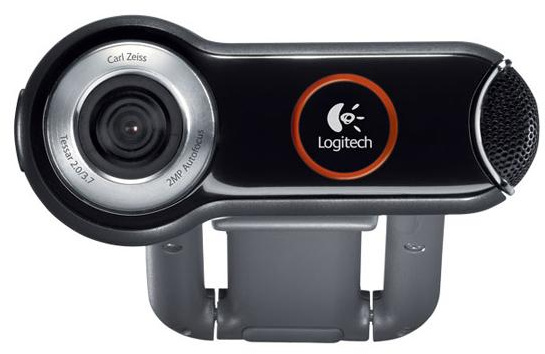
I wanted to share a quick tutorial on how to add Logitech Quickcam Pro 9000 via BlueIris and stream live to AuthomationHD.
Assuming you configured BlueIris to have a working cam and use JPEG streaming over port 5000 which you can check via http://YOURIP:5000/ it should come up with http://YOURIP:5000/jpegpull.htm. If you don’t have that don’t continue and read the manual on how to get your camera working properly.
Once you have the above here are the steps to stream to your cell phone:
Step 1:
Apps –> Develop Apps –> Create Device
Enter the Following Info:
Device Type: urn:schemas-upnp-org:device:DigitalSecurityCamera:1
Internal ID: (Blank)
Descrition: <DeviceName>
Upnp Device Filename: (Blank)
Upnp Implementation Filename: (Blank)
IP Address: <Device IP:Port> (Ex. 192.168.1.200:5000)
MAC: (Blank)
Room: <Select/Associate if you already have the room created>
Parent Device: (Blank)
Select “Create Device”, “Device Created” message should appear with new Device ID
Step 2:
Device should now show up in “Devices –> All” (It won’t show correctly with no Cam Icon but we will add the rest of the settings to fix this)
Next, find this manually added device in the room you added…. Click Settings (Wrench Icon) and update the following fields:
Settings Tab:
URL: /image/Cam1?time=now (the name of your cam is important which you have to define in BlueIris. I chose “Cam1” see screenshot)
Username: <username> (optional)
Password: <password> (optional)
IP Address: (Should already be auto-populated)
To make the CAM visible in AuthomationHD you have to click “PIN to dashboard”.
Close out of settings and then click “Save”
Enjoy!

For the record:
Logitech Quickcam PRO 9000 with firmware 2.90.9018
UI5 VeraLite
AuthomationHD 3.2.1.5 ALPHA

