Video Intercom System via Tablets
After trying a variety of doorbell systems on the market ranging from Doorbot now Ring, Skybell, etc. I decided to create my own intercom system which integrates into my home automation system. The reasoning for that was based on not having the ability to integrate any of those Out-of-box doorbell solutions into any existing home automation system without major hassle.

For example almost all of those vendors promised for over 1 year now that they will release an API to 3rd party vendors can integrate to. They never provided any date and as a matter of fact they all changed their hardware and didn’t release any APIs.
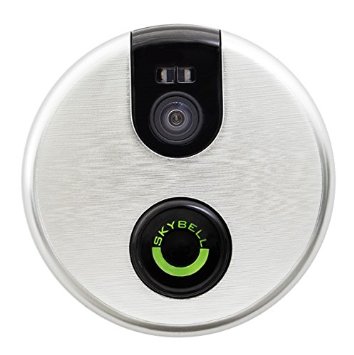
Doorbot is no longer available and Ring is completely redesigned. Skybell is now at revision two of their hardware due to issues and on top of that some of those vendors don’t comply with standards. A great example is Skybell where they are changing multiple times per day their MAC address. Although intended to be a permanent and globally unique identification, it is possible to change the MAC address on most modern hardware. Changing MAC addresses is necessary in network virtualization. It can also be used in the process of exploiting security vulnerabilities. This is called MAC spoofing.
MAC addresses are formed according to the rules of one of three numbering name spaces managed by the Institute of Electrical and Electronics Engineers (IEEE): MAC-48, EUI-48, and EUI-64. EUI is an abbreviation for Extended Unique Identifier.
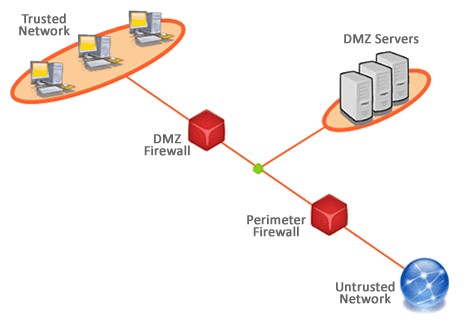
The real issue with Skybell is that they change their fourth digit of their MAC address multiple times per day from 0 to F randomly which makes it impossible to add the Skybell into the DMZ of your firewall of your router which is THE recommended solution of that company to ensure you can see and hear visitors when you are not at home and you want to talk to those visitors on your phone app.
After all of this and more negative experiences I decided to use a combination of hardware and software to accomplish my goals.
Required hardware:
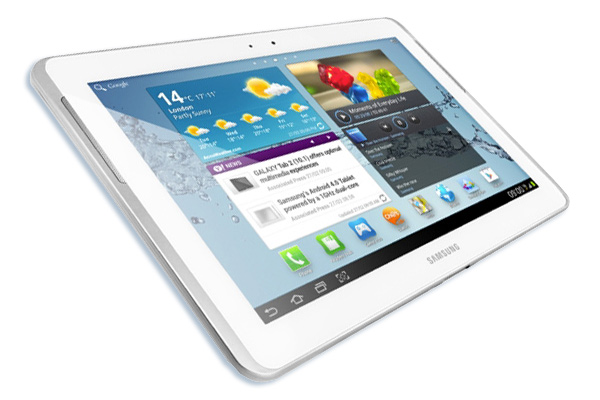
You can buy cheap no-name tablets off Amazon starting at $60 for 10.1″ inches unless you want to go with smaller tablets.
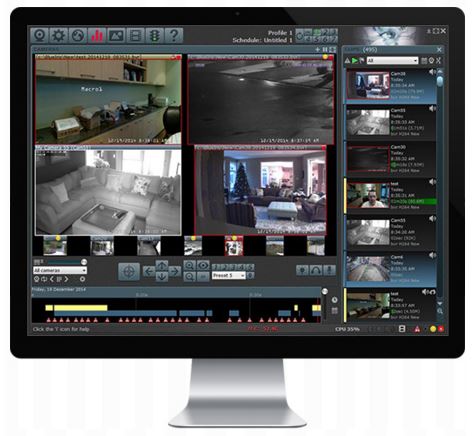
You will need a BlueIris server which is one of the best video surveillance NVR solutions out there but I am sure you can do the same with a DVR solution instead of a NVR solution.
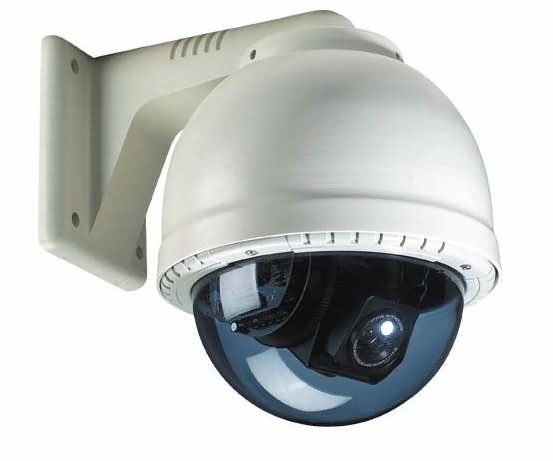
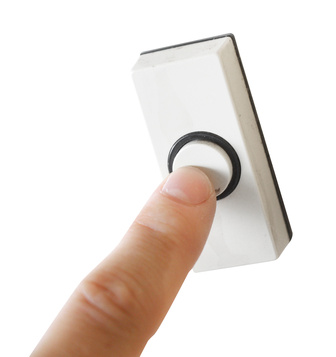
At least one camera at the front door and this camera should support 2 way audio communication
Required software:
BlueIris software ($60)

Tasker app from the Play Store ($3)

AutoVera app from the Play Store ($2.78)

BlueIris App from the Play Store ($9.99)

(sorry, but I am not an Apple/iOS guy anymore)
High level concept:
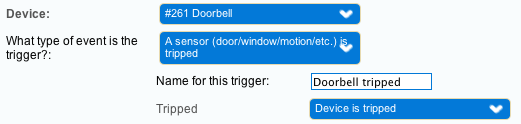
The doorbell press triggers a scene in Vera which can do a variety of things.
In parallel to that trigger you configure AutoVera to toggle notification on the “Doorbell” device which is the SM-103 from my previous post.
This notification then triggers Tasker which then triggers the opening of the BlueIris App on the tablet.
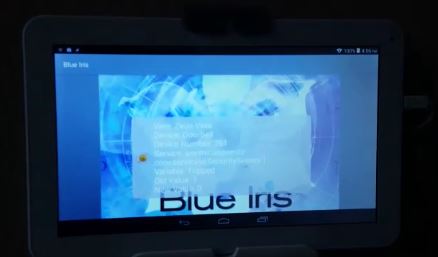
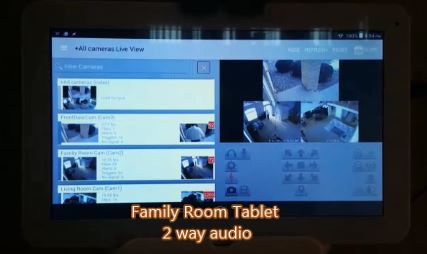
Within BlueIris you can define groups of cameras which then allows you to configure the App on the Tablet to start the desired camera in full screen mode.
Challenges with this approach:
The 2 way audio communication is highly dependent on the camera hardware and its audio capabilities. Most cameras claim audio support which is great and their microphones pick up sound fairly decent in most cases but unless you really invest in an expensive camera, you will have echos coming your way. The more expensive cameras do have “AEC” which is Acoustic Echo Cancellation as a feature and some of them also have “VAD” which is “Voice Activity Detection”.
Without those features you will have Echo when you open the BlueIris App on the tablet and you enable the 2 way audio communication. So unless you spend more money for a more sophisticated surveillance camera, your only option is to use the speak button on the tablet for your speech and you disable it after each sentence. In other words use the app like you would use a walky talky.
You should also check which camera has a built-in speaker or how do you want to connect an outdoor speaker to that camera. Most indoor cameras have very low quality speakers while most outdoor cameras don’t have any speaker at all but they have connectors to third party speakers.
Here is a video showing the working solution and you can hear the sound from outside on one of the tablets ready for 2 way audio communication.