Select Page
Unleash your full Unify Dream machine Wifi 6 Speeds

Unleash your full Unify Dream machine Wifi 6 Speeds

With Wifi 6 and Wifi 6e and the just announced Wifi 7 standards rolling out, you want to ensure that you have the latest and greatest speeds at your home. 

There are some gotchas on the path to achieve the highest performance and I will also address the most economical vs the “Unify ONLY” method.

With the release of the Wifi 6 Access Points of Ubiquity you will notice the speed requirements of 2.5Gb/E POE to ensure the optimal performance for your network.


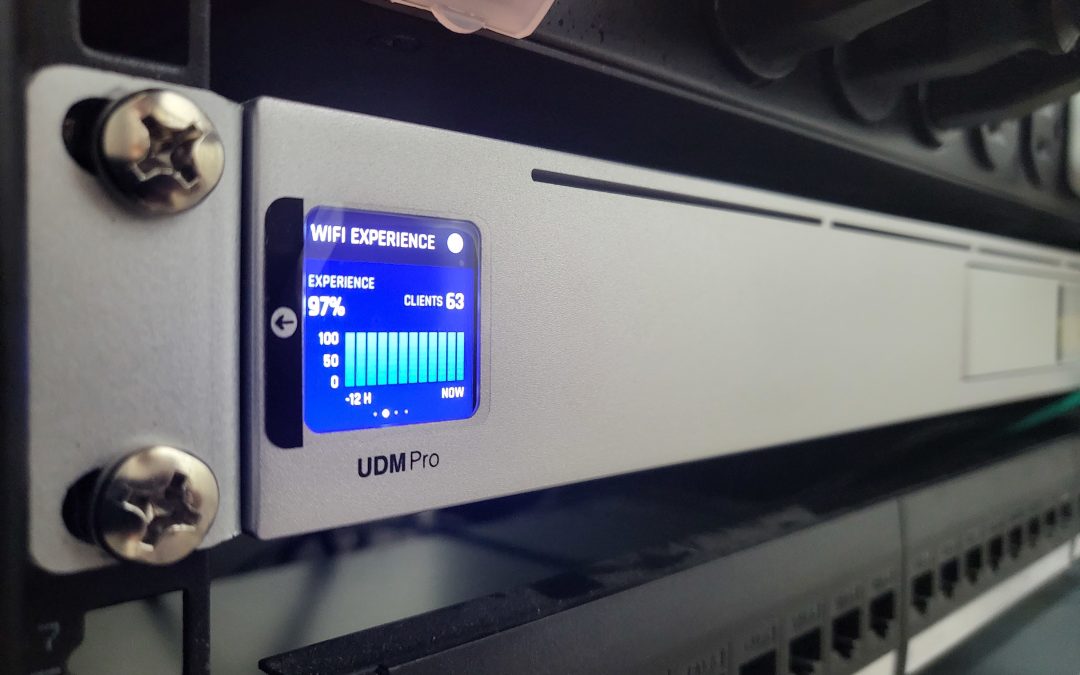
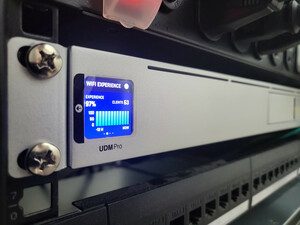
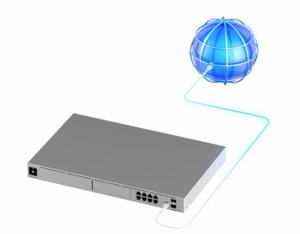
The UDM-Pro Dream Machine is a great device but if you look closely you will find 2 x 10G SFP+ ports, 1 x 1G RJ45 WAN and 8 x 1G RJ45 ports for a total of 11 ports. 

The first scenario is using the 1G RJ45 WAN port connected to your Xfinity, ATT, etc modem/router (hopefully is pass-through mode), which leaves 2 x 10G SFP+ ports to connect to your new Wifi 6 Access Points.

You would have enough ports to direct connect them to your UDM-Pro but you don’t get POE assuming you want to connect 2 Access points for redundancy reasons.


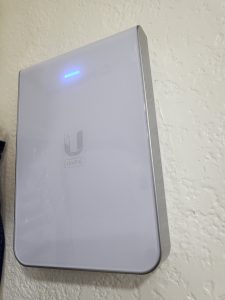
The new U6-IW Access Point, which is an In Wall Access Point powered by POE. The Access Point has additional network ports at the bottom and you will need to power this access point with POE+, if you want to have POE out.

POE+ is not required but recommended as this access point and the U6-LR (Long Range) consume about 15W on average. 

The challenge comes with the POE+ part. You have to purchase a switch with POE+, which also support 2.5Gb/E or you use the existing 10G SFP+ ports but then you need a POE injector.

You can go with the Ubiquity POE adapters or buy no-name POE adapters, but the best path of action would also be the priciest path as Ubiquity recommends their enterprise 24 Port POE+ switch for $800 all the way to their enterprise 48 Port POE+ switch for $1,600.  


With those prices for those POE+ switches the POE injectors look suddenly much more attractive than before!

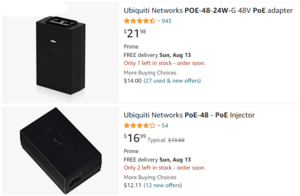
With that said, you need to be careful as not all POE injectors support the speeds you need. Some of them only support 10/100, while others support gigabit speeds which you can recognize in their part number with the G at the end.

If you go with the cheaper model like you see here on Amazon with only 10/100 saving $5, you will get a message in your Unify dashboard stating “Poor Ethernet Link Speed Try replacing your AP’s cable”. It is obviously not the cable as it is the POE injector slowing you down assuming you have the proper CAT cable for your Access Points.


The most economical way of achieving the overall goal of best performance would be a switch. In this case an unmanaged switch which supports POE+ for 2.5Gb/E ports and has a 10G SFP+ port. There are some affordable models on Amazon and I tried 3 of them.

The first one from Yanley did not work as advertised and actually died during the install and there was no mention of that model on the manufacturer website and the manual was the wrong manual. I sent that switch back for a full refund.

The second one got delayed during shipment from China, so I ended up with the Binardata switch. 

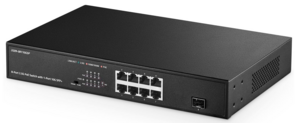
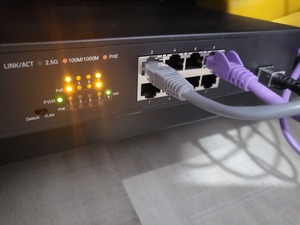
This switch comes with 8 x 2.5Gb/E ports POE+ and 1 x 10 SFP+ port. You connect this switch using a 1M SFP+ DAC cable and you connect your access points directly to the POE+ powered ports.

What nobody tells you though is that once you introduce a 3rd party switch into an ubiquity network, you will lose your ability to look at your topology map to see your Wifi clients. Given that all your Wifi clients will be connected to both or more of your access points, you will not see a single client in your topology map.

I emailed Ubiquity about that issue and their response was that 3rd party vendors incorrectly forward LLDP traffic causing this.

After emailing Binardata, they replied that this is an unmanaged switch and they don’t have a way to block LLDP forwarding. 

If you look carefully though, you will see a dip switch for VLAN support and what this dip switch does, it forces all communication from all 2.5Gb/E ports to the 10G SFP+ port blocking all communications between the 2.5Gb/E ports and this includes forwarding of all LLDP traffic. 

As a result, once you flip that dip switch your topology map will start working again and you will see your access points directly connected to your UDM-Pro and given that this is an unmanaged switch, this is totally acceptable.

Now you have a switch with 8 x 2.5Gb/E ports allowing you to connect up to 8 access points with up to 150W of total POE+ power.  


Another reason why it makes sense to use 1 of the two 10G SFP+ ports to connect to one unmanaged switch is that you most likely won’t have more than 4 x 2.5Gb/E access points in your home and given that you use the 1G port for WAN connectivity you have one more 10G SFP+ port left, which in my case talks to my Synology RS1221+ model hosting VMs, network shares, BlueIris and Home Assistant. Having one dedicated 10G ethernet connection to that device is more than appropriate. 

In summary, you can upgrade your UDM-Pro from Wifi 5 to Wifi 6 or Wifi 6e by either investing in the proper Ubiquity POE+ switch family, which will cost you at least $800 and you will get 24 POE ports while you might only need 2 or 3 of them…

or….

You purchase this affordable unmanaged switch no-name brand on Amazon Link  for $166 (and I want to make it clear that I have zero affiliation with that company and I found them on Amazon and I purchased that device at the full price).

Use the dip switch for VLAN isolating and blocking LLDP traffic giving you the ability to scale your access points with POE+ to up to 8 at a very affordable price unlocking the full speed in your home network.

I hope you found this article helpful and you will be able to break out and join the high speed highway.

LaunderPal is a smart laundry basket that takes care of your clothes and helps you manage them

LaunderPal is a smart laundry basket that takes care of your clothes and helps you manage them

An interesting idea did not get any traction. This kickstarter project didn’t get the funding needed and will probably never see the light. With that said, here are the highlights for people interested.

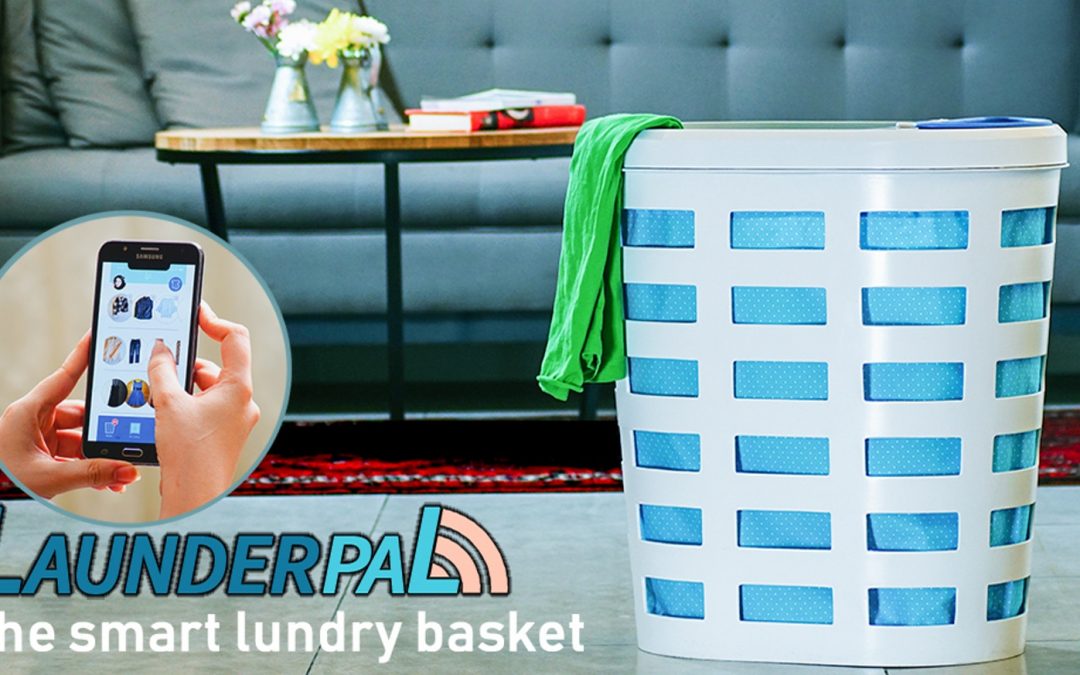
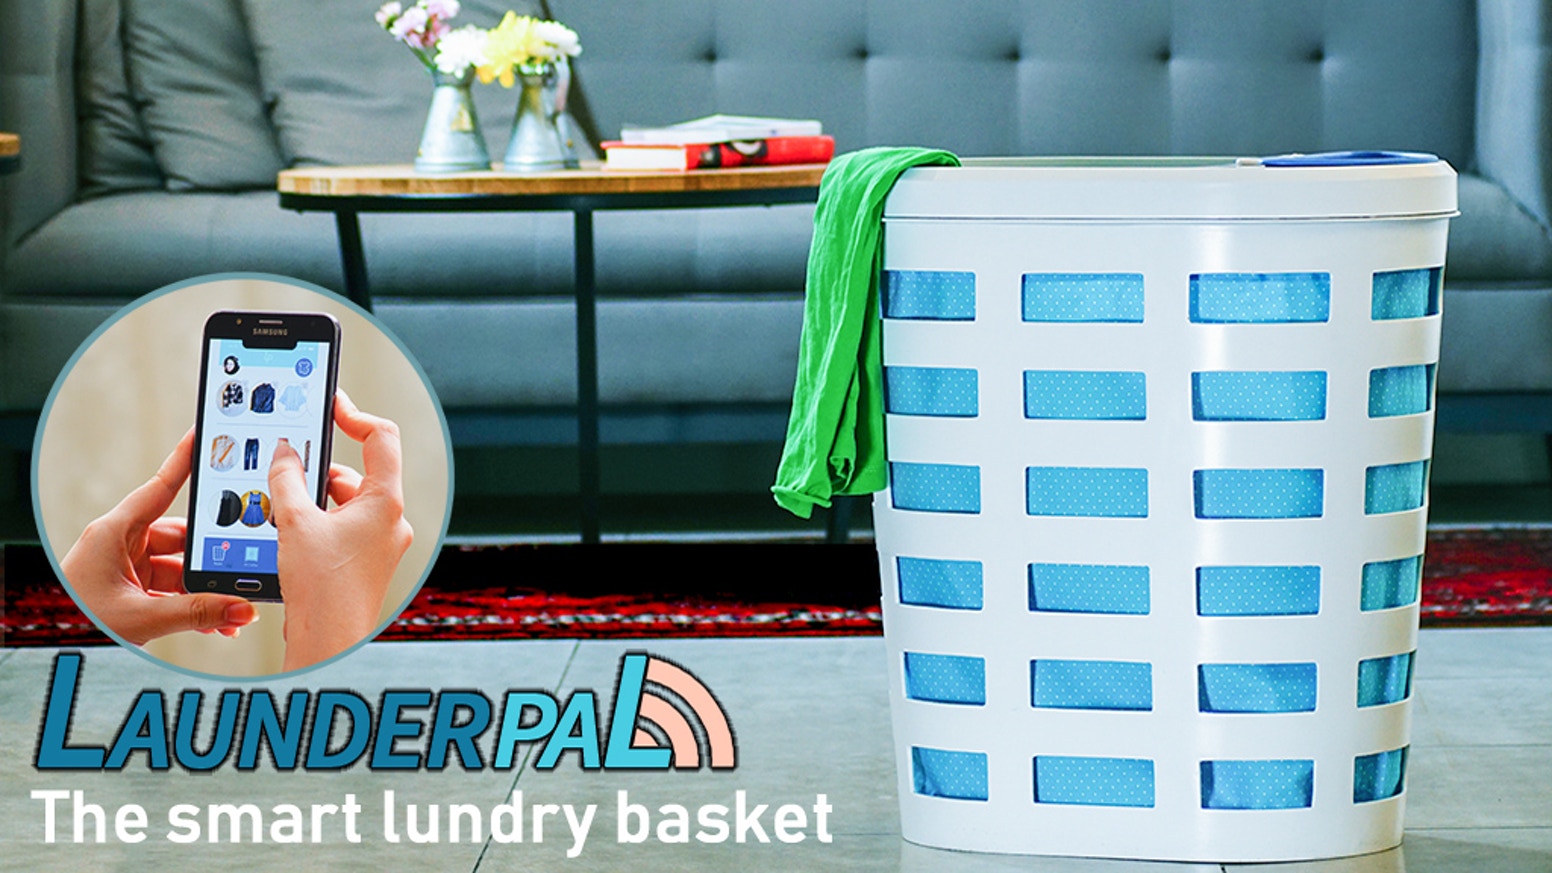
LaunderPal is the Smart Home Laundry Basket that recognize clothes by RFID tags and bring useful data on mobile application and server database. The idea of using washable RFID chips in combination with a laundry basked with a built-in RFID reader resulted in LaunderPal. 

The benefits outlined by the creators:

– Help you manage your clothes by indicating which clothes are inside the basket and which are not.  

– Prevent clothes from shrinking, stretching, dye bleeding, color fading, etc. by suggesting proper washing program for each clothing stack according to their Care Tag.  

– Make sure you always have clean clothes available.  

The idea of putting RFID chips on every single clothing is putting everybody off instantly. A lot of work up front to make this product functional.

The idea of the mobile app is nothing new but having to open the app, read which clothing doesn’t go with which other clothing and then finding that particular clothing in the basket is another time consuming task nobody wants to tackle. 

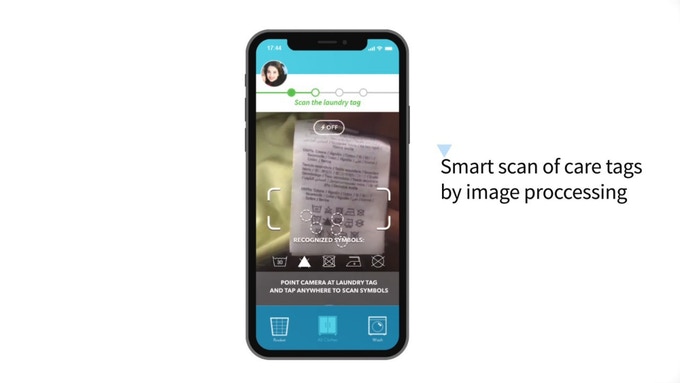
The idea of offering smart scan of clothing tags is a good one actually. Questionable but good. Being able to take a picture and the application knows instantly what and what is not ok with that particular clothing.

With that said, I doubt that anybody will open the app and check if that clothing piece can be put into the dryer or not. That person will probably check the label on the clothing itself.

Intesting idea of a product, but too much work for the benefits provided hence no funding goal achieved. Maybe some day someone will revolutionize this idea and bring it to the next level and to the market. 

Light-Motion combination switch

Light-Motion combination switch

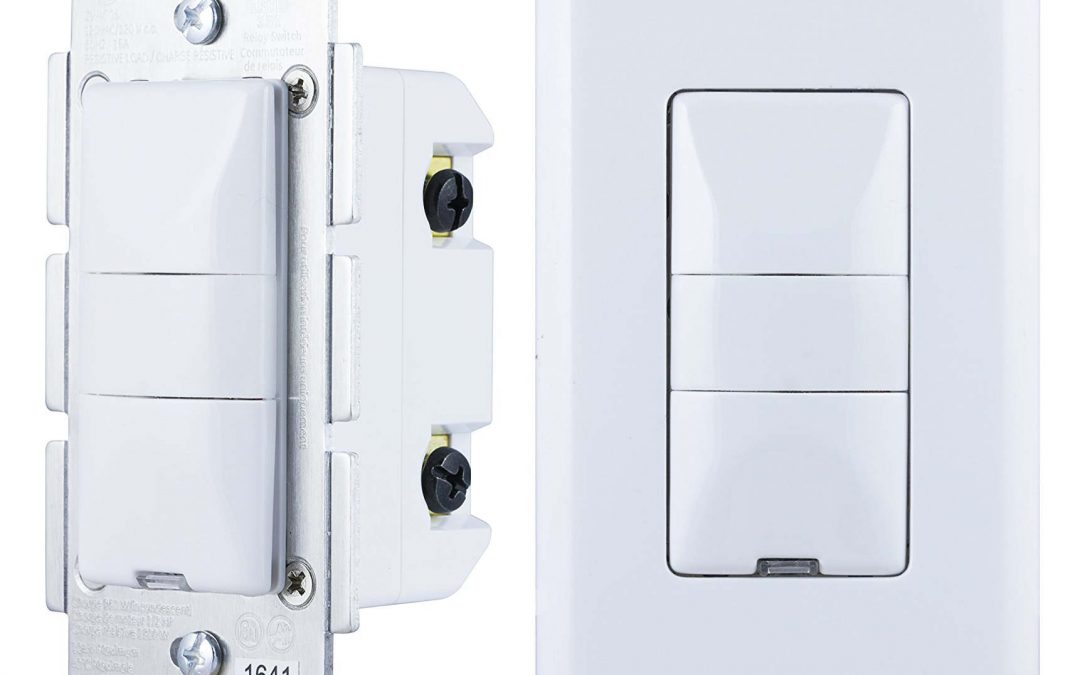
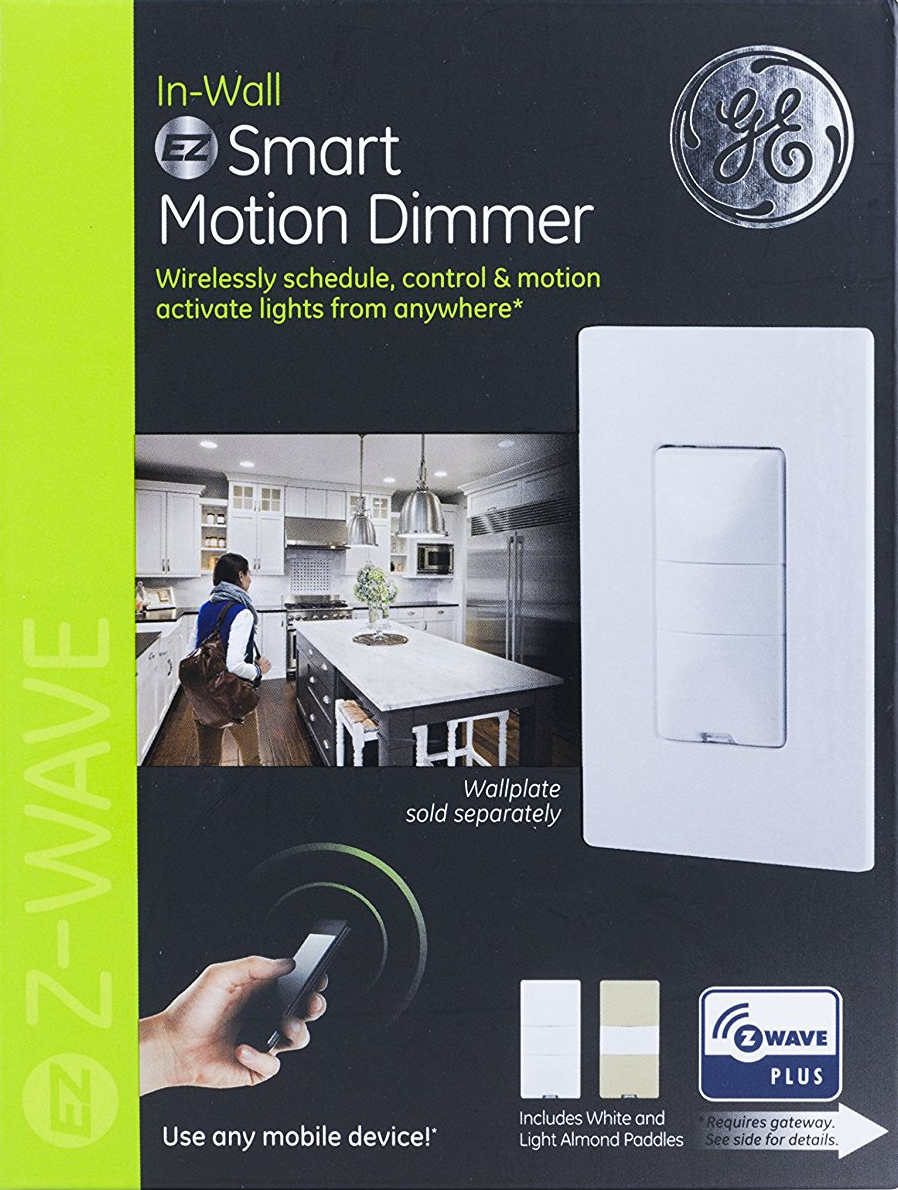
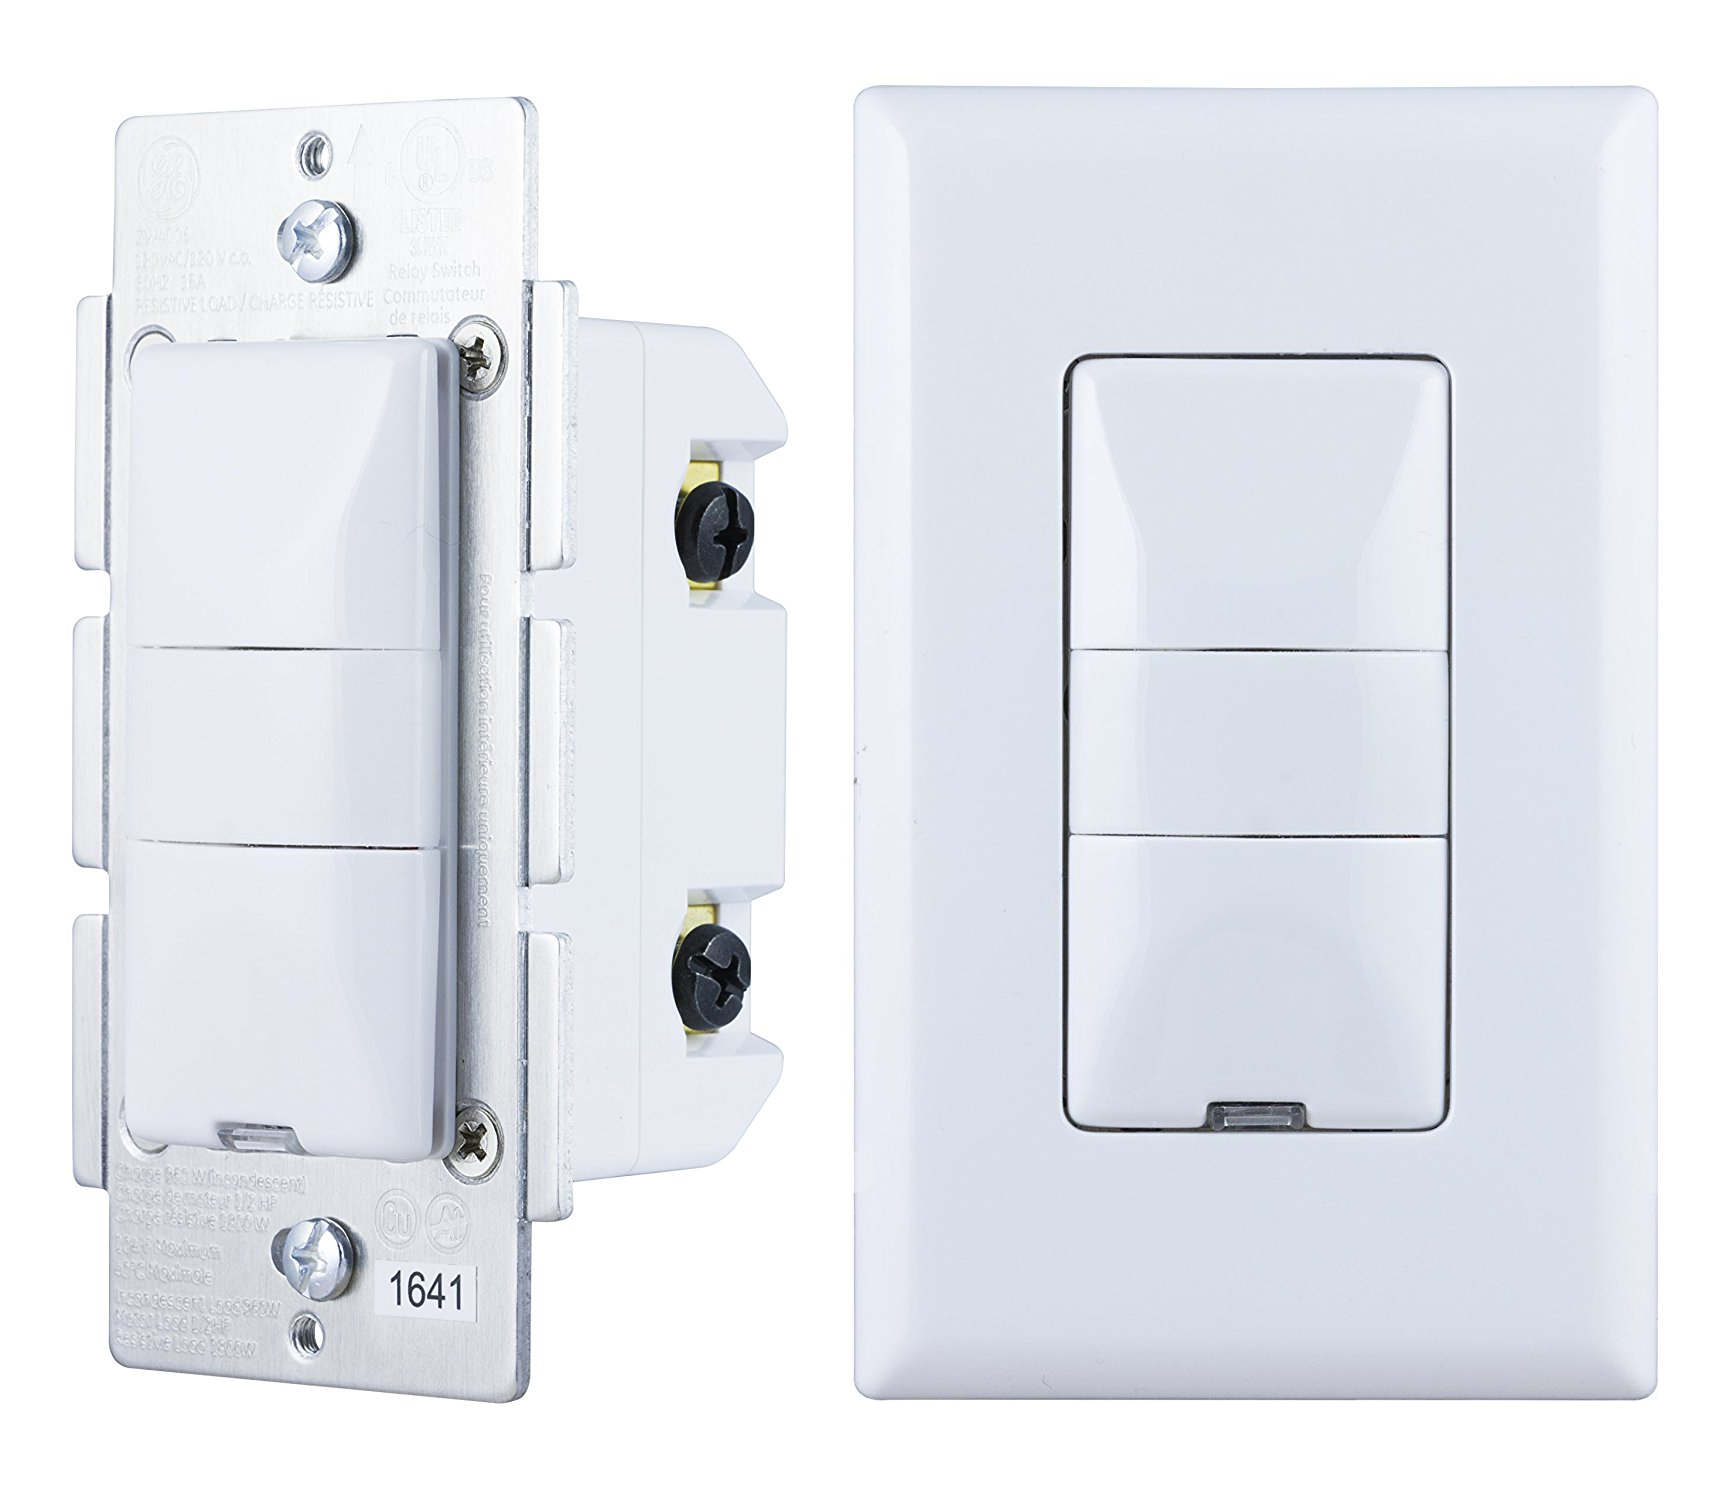
GE/Jasco released a new Z-wave certified switch in Dec 2016, which was made available on Amazon in April 2017. There was no press release or announcement and many people don’t even know that such a switch even exists hence my blog posting here.

The smart hub community quickly jumped on that in Feb 2017 requesting support and given the wide support of GE switches across many smart home hubs, this switch has been integrated rather quickly (Pulse, Trane, Wink, Nexia, Honeywell, HomeSeer, Smart Security, Harmony, Vera, Smartthings and Connect).

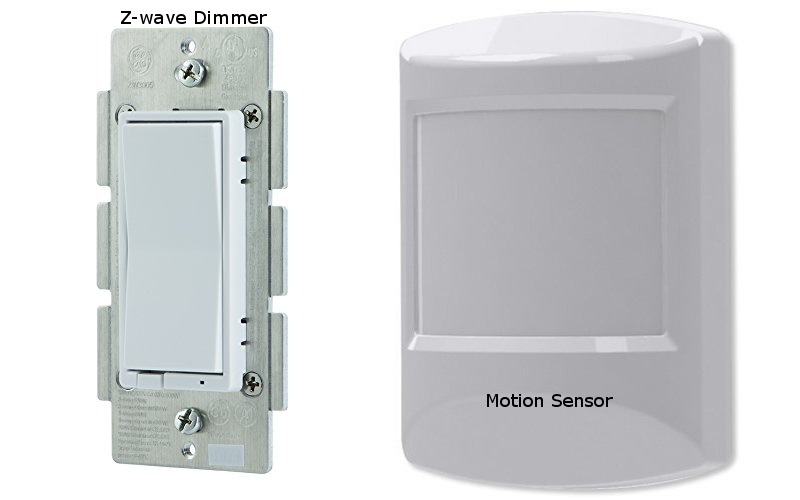
What’s the use case for this switch? Before this switch was released you could buy a Z-wave light switch (on/off or dimmer) and then you had to buy a motion sensor separately. As an example you would install this switch in your bathroom/toilet room and then you had to install a motion sensor somewhere in the same room.

Unless you have a power outlet close and a clunky power supply in that outlet to power your motion sensor, you would have to buy a battery operated Z-wave motion sensor or use a USB outlet and wire the motion sensor with a USB cable. Most people went with battery operated motion sensors which have a standard of 4 min timeout setting to preserver battery life.

This setup required you to purchase the light switch and the motion sensor separately which costs anywhere from $35 to $45 for the switch and $20 to $35 for the motion sensor for a total of $55 to $80 dollars.The new GE26933 combination switch is selling for $55 dollars which is a very reasonable price for a combination of both.

The beauty of having such a combination switch is that the motion sensor is not battery operated and the hassle with wakeup and timeout settings doesn’t apply. As a result you can configure this switch on a very granular level and you don’t have to worry about wires coming from your motion sensor to your outlet trying to have a permanently powered motion sensor like the GE 6 in 1 sensor, which is a great product by itself.

You have a single switch combining motion and light switch into one device. In addition it is a dimmer so you can adjust the brightness above and below the actual motion window of the switch. This switch also supports “Last level” which means when you use the dimming function to lower the brightness to e.g. 50% the next time you power on those lights, it will be at 50%.

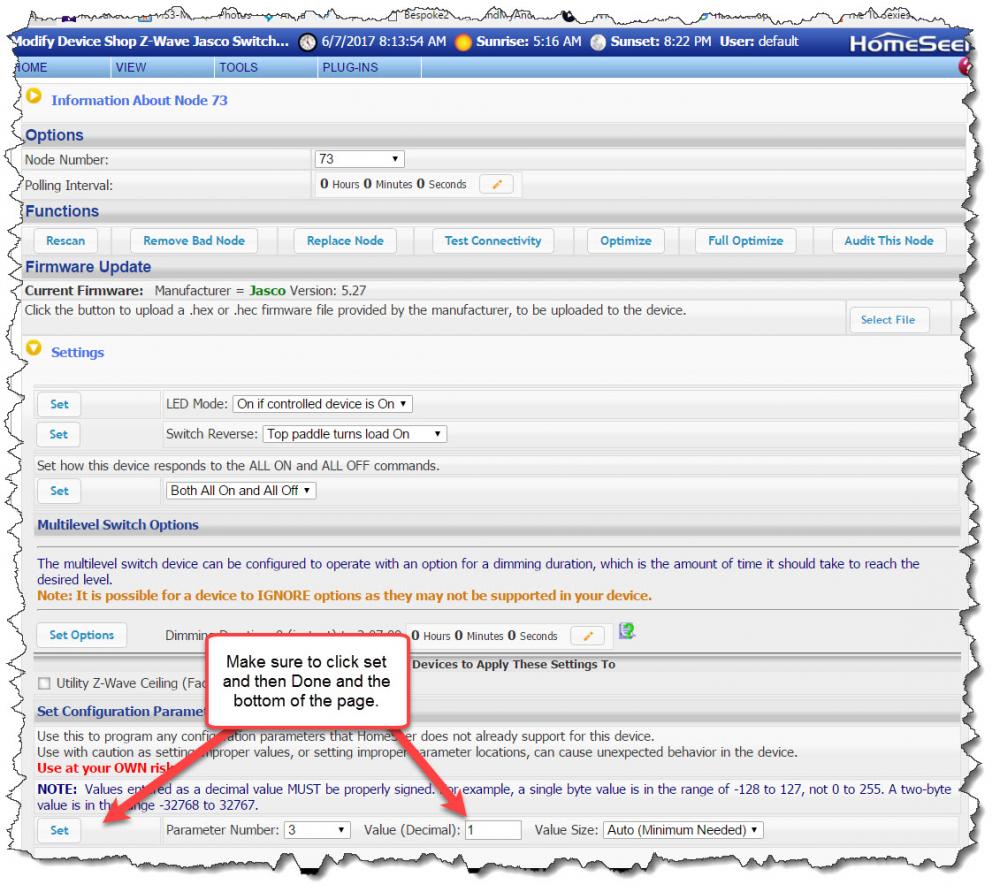
This switch comes with a variety of options you can configure via Z-wave settings. You have 19 parameter settings you can use to adjust this switch ranging from Timeout duration e.g. 5 min (default) to 30 min or no timeout, motion sensitivity from high to low with medium being the default, Light sensing on or off to the most important parameter which is operation mode with manual, vacancy or occupancy. You can find more details for those parameters here https://products.z-wavealliance.org/products/2108/configs

For smart home hub integration you switch to manual and your smart home hub will detect 2 Z-wave devices. The actual light switch and the motion sensor enabling you to create now scenes or events based on those devices or other devices from your smart home hub.


Most bathroom/toilet rooms have a fan switch right next to the light switch. You can now configure an event where you specify things like

if motion detected

turn on lights and turn on fan

for 5 minutes

and then turn off lights and fan

When you integrate your GE26933 switch into your smart hub system make sure to properly save those parameters e.g. Homeseer settings on the picture. Even before you set those parameters your smart hub system should find 2 devices (switch and motion) but motion will not change status as the default parameter setting for this switch is occupancy with 5 minutes.

The other benefit of having a permanently powered motion sensor is not having to deal with any wakeup and timeout values. You can go as low as 1 minute intervals for this light switch. If your switch is facing the restroom toilet with a setting of 1 minute unless the person sitting on the toilet doesn’t move for 60 seconds, will reset the timeout value continuously but again this is adjustable up to 30 min as needed.

In summary, many smart home owners were requesting for years a combination switch from the vendors and GE finally delivered and hopefully more vendors will follow. This switch can be used in many use cases ranging from garage lighting leveraging the daylight sensor to restrooms with no light or window allowing you to configure your room and lighting what fits your needs the best.

The price is very reasonable and totally justifies switching from two separate devices to a single device with the additional benefit of not having to deal with batteries and wires and two separate devices. Great addition to the Z-wave family of light switches from GE and I hope my blog post sparked some ideas for you on how to improve your smart home even further. Personally I already installed two of those at my home and I am going to add more.

Echo Show

Echo Show

Echo Show

The day after Microsoft announces their Alexa and Google Home competitor called “Invoke” based on Cortana’s voice engine, Amazon releases Echo Show as the latest member of the Alexa Echo Family.

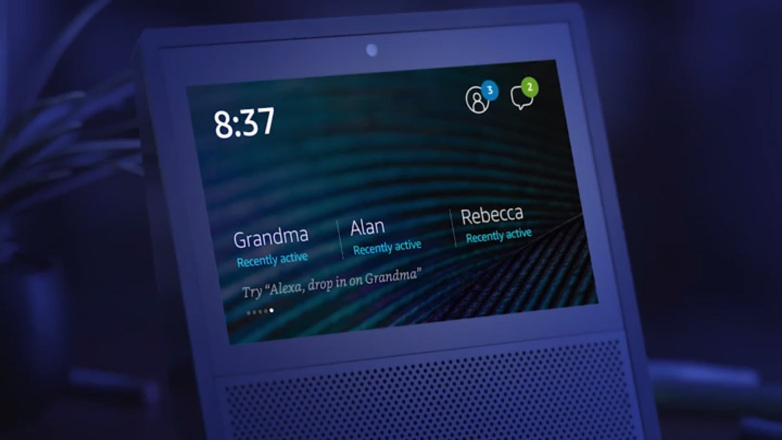
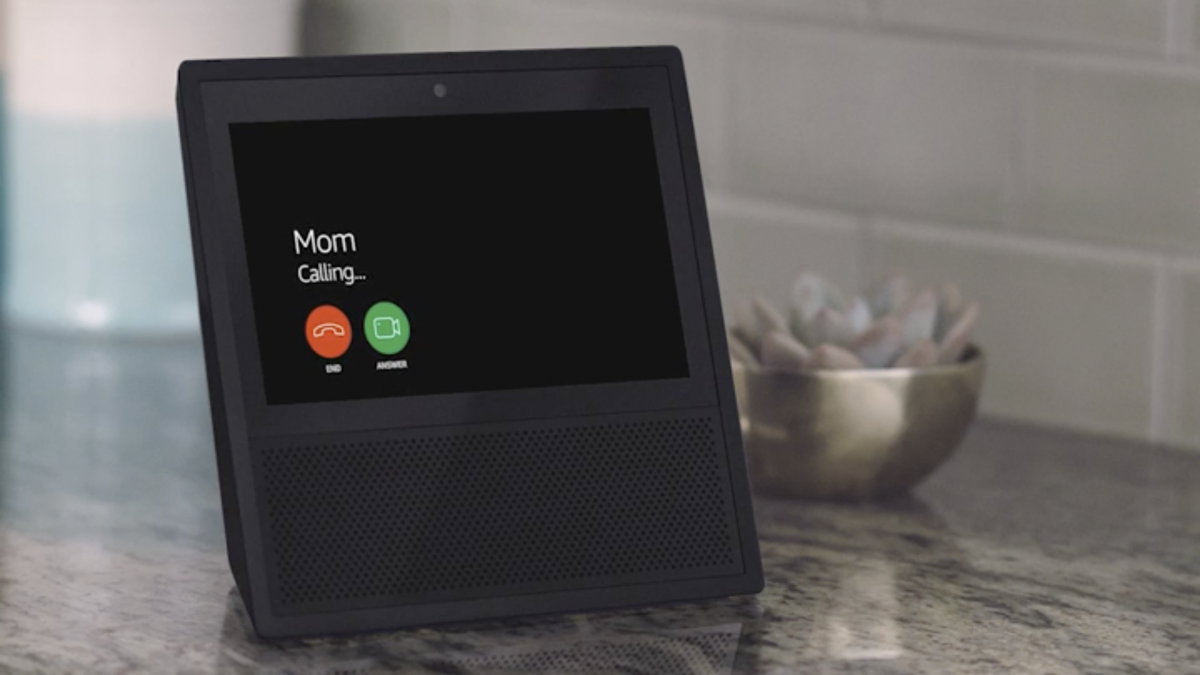
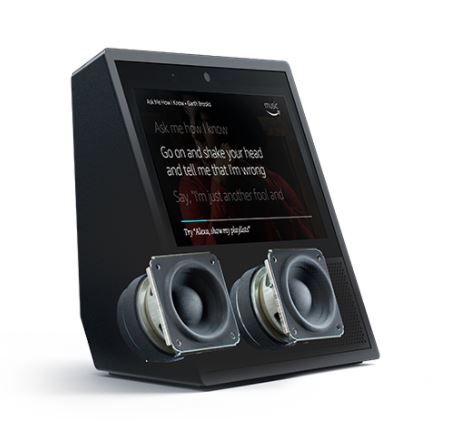
Echo Show has a touch screen and also includes now a calling feature. You can not only control all your smart home devices with your voice as before, but now you are able to watch videos with your voice, place calls and send messages to other Echo member devices (Alexa, Dot) and everybody who has the free Alexa app on their Android or IOS phone.

Powered by Dolby, Echo Show is fine-tuned to deliver crisp vocals with dynamic bass response and expansive sound. Watch as the display comes alive to show song lyrics, custom stations, curated playlists, and album art with Amazon Music. Echo Show also connects to Spotify, Pandora, iHeartRadio, and TuneIn—giving you voice control for all of your music. Echo Show is Bluetooth-enabled so you can stream other popular music services like Apple Music from your phone or tablet

Introducing a new way to be together more with the people who matter most. Make hands-free video calls to friends and family who have an Echo Show or the Alexa App. When you’re busy making dinner, just ask Alexa to place a call from your Echo Show to anyone with a supported Echo device or the Alexa App. You can also enable a new feature called Drop In for the special cases when you want to connect with your closest friends and family. For example, you can drop in to let the family know it’s time for dinner, see the baby’s nursery, or check in with a close relative.

With the Alexa App, conversations and contacts go where you go. When you’re away from home, use the app to make a quick call or send a message to your family’s Echo. Alexa calling and messaging is free.

For news and information you can see and hear, just ask Alexa for your video flash briefing from CNN, Bloomberg, and more. Curious about the latest movie trailers or a need a how-to video from YouTube? Just ask.

Echo Show helps keep you organized at home. Start a timer in the kitchen and watch as it counts down, or easily see and manage your family’s calendar. Sign in to the Alexa App to take your to-do and shopping lists with you. Just add an item to the list from home, and whoever is out shopping will see it added instantly on their Alexa App.

Equipped with eight microphones, beam-forming technology, and noise cancellation, Echo Show hears you from any direction–even while music is playing.

Echo Show Internals
Smart Home support

Connected Home vs Smart Home

Connected Home vs Smart Home

People believe “smart homes” and “connected homes” are the same. You might even see terms like “true smart home”, where companies try to bring their point across of having a home, which is more than an assembly of connected devices. Let’s look into those terms and define, what a “smart home” really is.

Let’s start with the official definition outlined by Wikipedia. Smart House on Wikipedia refers to Home Automation. Within Home Automation you will find the following definition.

“Home automation or smart home (also known as domotics or domotica) is the residential extension of building automation. It involves the control and automation of lighting, heating (such as smart thermostats), ventilation, air conditioning (HVAC), and security, as well as home appliances such as washer/dryers, ovens or refrigerators/freezers. They use Wi-Fi for remote monitoring and are a part of the Internet of things. Modern systems generally consist of switches and sensors connected to a central hub sometimes called a “gateway” from which the system is controlled with a user interface that is interacted either with a wall-mounted terminal, mobile phone software, tablet computer or a web interface, often but not always via internet cloud services.

The key word here is “automation”. Putting so called “smart devices” into a home doesn’t make the home smart. The industry is using the term “smart” for devices, which can be controlled by a smart phone, tablet or nowadays voice control devices like Amazon Echo or Google Home. Another example would be the trend of smart doorbells. Just because a doorbell will notify you on your cell phone, emails or texts you or allows you to speak to your visitor from your cell phone with two-way audio, doesn’t mean you have a smart home.

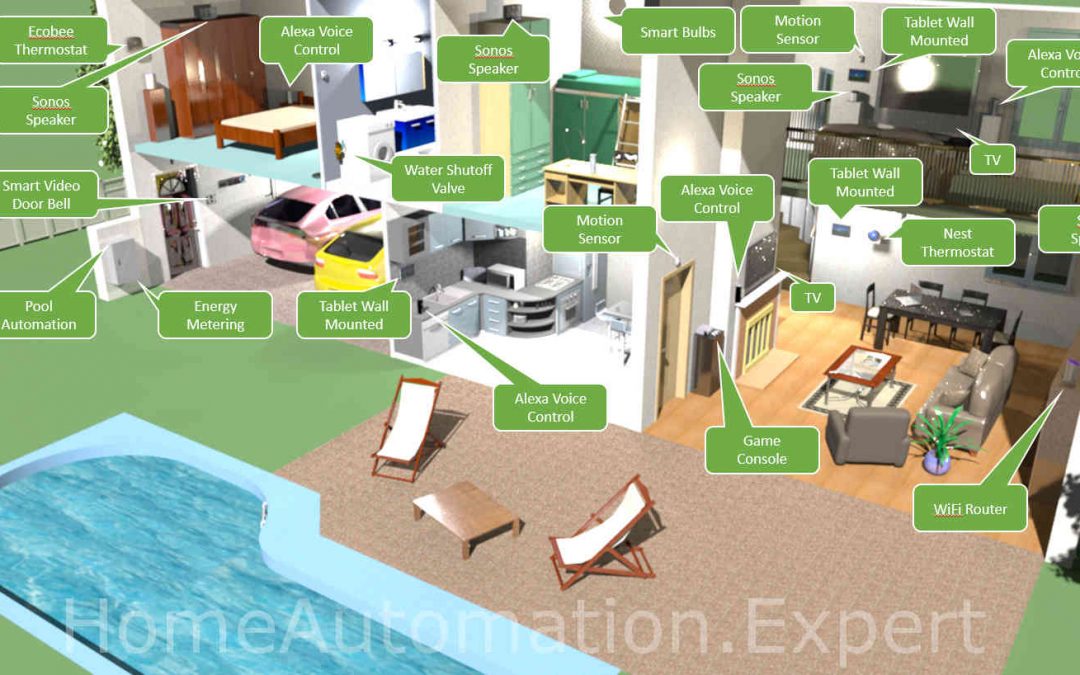
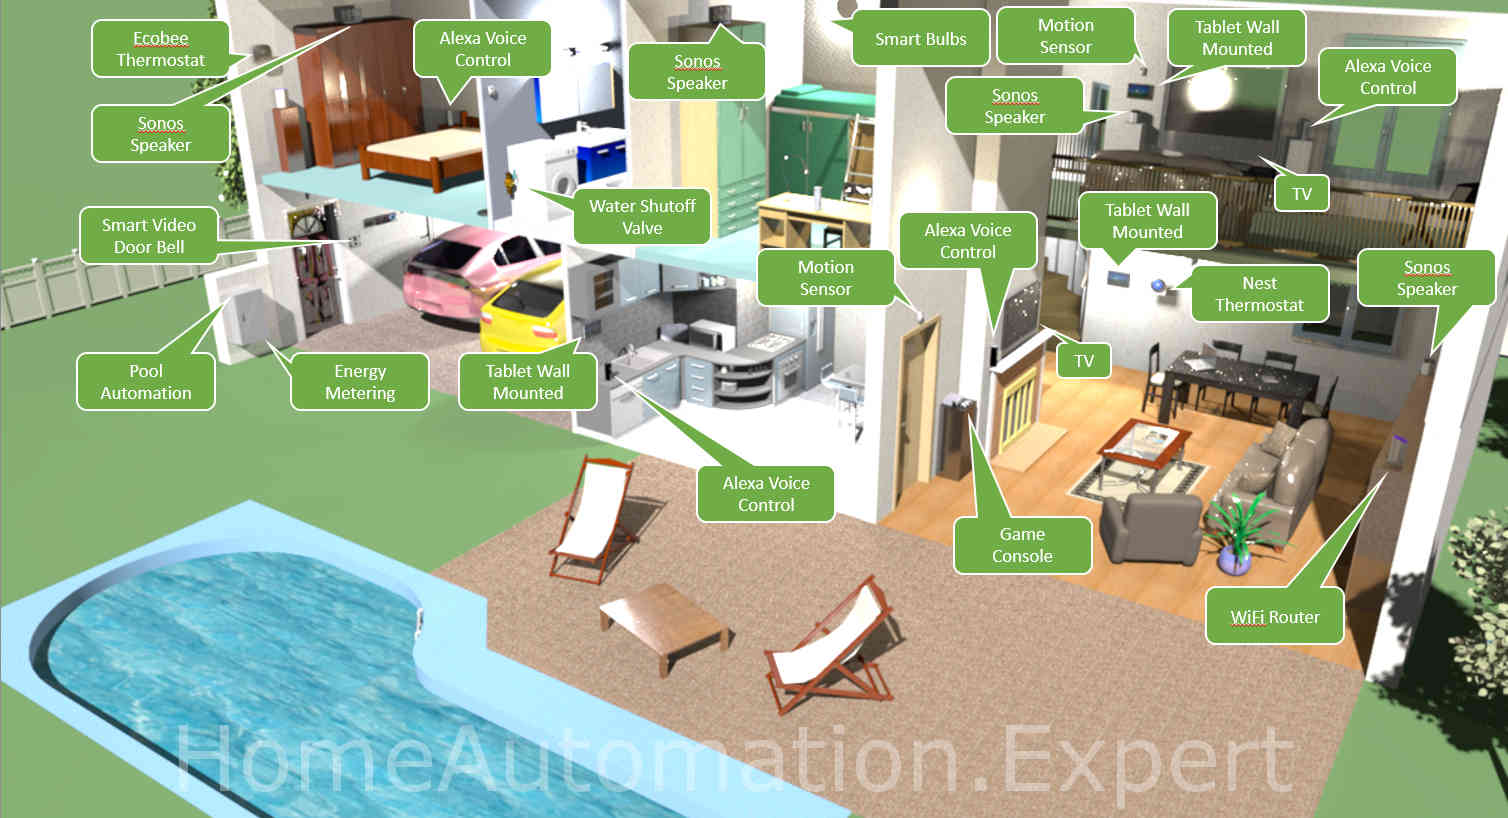
I created the following picture to demonstrate one example home with smart devices and then I will go into the details with real life use cases/examples of what would make this home a “smart home”.

Smart Home

You can see a lot of devices within this “smart home” ranging from thermostats, speakers, media and entertainment, etc. Most or all of those devices can be controlled from a smart phone, tablet or Alex Echo / Google Home with individual apps or skills (as Amazon calls them). They don’t have to be necessarily have to controlled by a single home automation hub/controller/gateway.

With that said, let’s provide some examples, where the true benefit of having a home automation hub/controller/gateway will showcase, what a “smart home” should look like, otherwise this home would simply be a “connected home”.

Geo Fencing

The most common use case is GEO fencing. GEO fencing is the term for location aware reaction of your home automation system.

geo fence In this example you create either one or two virtual fences around your home. The first fence is very close proximity e.g. 100 to 200 feet to capture if you leave your home. The second fence could be a couple of miles.

Most people go with one fence only but others go with a second one to e.g. set the temperature of the home to a more comfortable setting so by the time they get home, the house is nice and cool or warm and cozy and if it is night, turn on the lights in certain areas of your home and open the garage door, when you approach the inner perimeter.

Yes, you could use your cell phone and open your Nest or Ecobee app, while you are driving, and set the temperature to the desired level. You could press the button in your car to open the garage door, when you are in front of it. The Geo fencing feature does all that for you based on logic you defined and if any delay occurs like traffic jam on the highway, you wouldn’t have to worry about opening your app and changing states of your smart devices.

Disaster Prevention

Less known, but very efficient and effective example is the combination of water shut-off valves and water leak sensors. In the old days you could buy a system, which connected to a telephone line and if the water leak sensor detected a leak, it called out and notified specific people. Those systems were expensive in up front cost and in some cases they charged monthly fees for that service.

In addition to that, the sensors were limited in terms of how many of those sensors could be installed and how long those wires could have been. Those costs and limitations prohibited a wide deployment of such notification systems.

With today’s technology, the picture has changed drastically and situations like on the picture should be a thing of the past. As many wireless water leak sensors you need communicating with your central hub/controller/gateway and in case of a flood the “smart home” will take action, which can be a simply notification via email or text, announcement within the house over all speakers, alarm sirens, etc the options of actions is very long.

This example doesn’t prevent any flooding, but it will take action at the slightest amount of water reaching the water leak sensors, which can prevent coming home to a completely flooded basement. Those costs will run in the thousands of dollars and the best of this whole example is: “Insurance companies will give you a discount, if you install water leak detection systems in your home”. Simply ask your insurance and they will tell you what discount you will receive, if you chose to implement this example.

This applies to home owners and landlords. The investment of having such a system implemented can be recovered after several months or years. Example would be a 10% discount for a home owner insurance of $1,500 per year. Those savings of $150/year would give you a break even point from your investment of 2 or 3 years, not to mention the cost savings of not having to repair a flooded basement or laundry room, which typically range in the area of $3,000 to $5,000 or more.

Energy Control

Another example would be energy control of your home. You could have remote controlled blinds, fans and thermostats in your home. You could use your cell phone, smart tablet or voice to turn those “connected devices” on as needed. A true “smart home” would do the following and this is just one example, which can be adjusted to any need or location…

IF summer AND IF morning AND IF temperature reaches 75 degrees –> THEN lower blinds

IF summer AND IF morning AND IF temperature reaches 75 degrees AND blinds lowered –> THEN turn on ceiling fan

IF summer AND IF morning AND IF temperature reaches 75 degrees AND blinds lowered AND ceiling fan is ON –> THEN power on air condition

In simplified text, this logic does the following. In the morning, when the sun rises, the temperature in your house rises as well. Most households have their thermostat set to a certain temperature, before the air condition kicks in. Even if they have smart thermostats, they will get trigger by a certain temperature.

The example logic above delays the air conditioning kicking in by using the alternative methods of blocking out sun or using ceiling fans first before the more power hungry and costly air conditioning system kicks in. The “smart home” will try to block the sun first by lowering the blinds. If the temperature still rises, then the “smart home” will turn on the ceiling fan. Only if all that isn’t enough, then it will turn on the air condition.

Security and Fire Alarm

The top rated reason for people adopting “smart home technology” is security. The security industry has been around for many years and alarm systems have evolved in many directions over the years. Security systems today include not only window/door sensors, glass break and motion sensors, but also fire alarm detectors and cameras with motion alarm.

Having those notifications going to a service provider, who will call the authorities is a good thing. However, nobody has thought about the actual home owner in those situations. To be more specific, image a fire alarm going off in your home. The sirens will go off, you might get a call from your service provider and the whole family will be up in no time. What is not considered is, how to make this situation easier and less stressful.

Imagine the same scenario, but in this case once the alarm goes off, the lights in the whole house will go on or change color to e.g. red, the blinds will open allowing a clear view from the outside into the house for the firemen, the alarm system will disarm after the authorities have been notified (last thing you need is your alarm system sirens going off just because you or your family opened the door and you forgot to enter the code to disarm the alarm system), the door locks will unlock allowing easy exit of the house, the speakers throughout the whole will announce that there is fire and with the right equipment it can also announce, where in the house fire has been detected. If nobody is home, the home owner will get notified via email, text or phone call from the service provider and from the smart home and having the doors unlocked will allow easy entry into the home for the firemen.

In summary, there is nothing wrong with having a “connected home”. As a matter of fact a connected home is the first step towards a smart home. Yes, it requires some adjustment and logic to be put in place, before a connected home becomes a smart home. The time is worthwhile investing, as the return of the investment will be worth it.

The additional cost of making a connected home to become a smart is much lower compared to making a regular home to become a connected home or smart home. The only challenge with this transformation from connected home to smart home will be the interoperability between the smart devices and the hub/controller/gateway, as not all vendors will support all smart devices.

In some cases workarounds are available and yes, you could use something like IFTTT (If this then that) to create logic for your connected home. IFTTT has a wide variety of supported devices (channels), but you should consider always the worst case, which is when your home might not have any internet connection. Some home automation hub/controller/gateway vendors require an internet connection to be available to conduct any actions in your home, which might not be a good thing in some of the use cases and examples outlined above including IFTTT.

The smart home adoption is at an all-time high and I encourage everybody to invest the time to find the most suitable technology for their homes and families and aim for a true “smart home”.


Sunkpumps

Sunkpumps

FloodWith IoT ranging across a variety of use cases, I wanted to share one initiative which will benefit smart home users. Most homes have at least one or two sunk pumps installed in their homes (typically in the basement). Those sunk pumps help to prevent flooding of homes and those devices are work horses. They constantly pump water away from the homes.

Failing sunk pumps can lead to floods, especially if those failures are not detected. There are solutions out there today, ranging from water leak detectors in the basement or in close proximity of a sunk pump, to detectors applied on the sunk pump itself reporting too high water levels. Those solutions are reactive and when a failure occurs, the flood is already in progress which limits the options from the home owners assuming they are at home when it happens. Some of those solutions have 3G/4G SMS text messaging capabilities but again it only reports that water levels are already rising.

First proactive solutions are being developed at the moment, which are attached to sunk pumps. Those devices can detect a failure between 2 to 6 hours before the pump fails which is much more beneficial compared to informing the home owner that there is a flood in the basement happening. In addition to the ongoing development those companies are already in contact with the insurance companies discussing discounts for home owner policies if those devices get installed.

pit-boss-how-it-works

The existing solutions today are proprietary and offer their own cloud or messaging solutions to inform the home owners about the imminent ongoing flood. Some of those vendors charge monthly monitoring fees, others simply allow the usage of a SIM card from a cell phone provider company to send text messages out.

None of those existing solutions are integrated today with any home automation system. I have seen a couple of DIY hacks to enable integration via SIP gateways. Other people apply and deploy a Z-wave water leak sensor, which again only reports a flood after the sunk has already failed.

The communication protocol shouldn’t matter as long as the goal can be achieved to report proactively if a sunk pump is about to fail. Companies who are working on those solutions are inquiring what protocols should be used ranging from MQTT, Z-wave, Zigbee, WiFi, etc.

The key point should be that those solutions can be installed as their own ecosytem without any home automation system in place but also offer the option of adding a communication add-on to enable integration into existing home automation solutions. Another aspect which should be considered here are the landlords and their rentals. They might or might not have a home automation solution deployed at their rental locations but they most certainly would like to get notified if a sunk pump fails to avoid costly repairs of their properties.

I am excited about the proactive approach and once the first solutions hit the market, I will deploy 2 of those at my home and hopefully be able to get a discount from my home owner’s insurance.

x  Powerful Protection for WordPress, from Shield Security
This Site Is Protected By
Shield Security
Verified by ExactMetrics