by George Pamboris | Sep 25, 2015 | AV
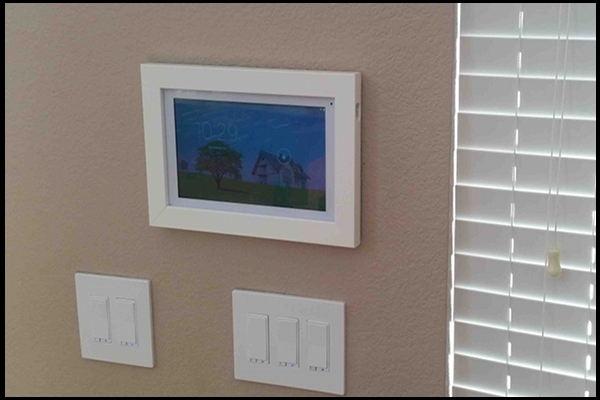
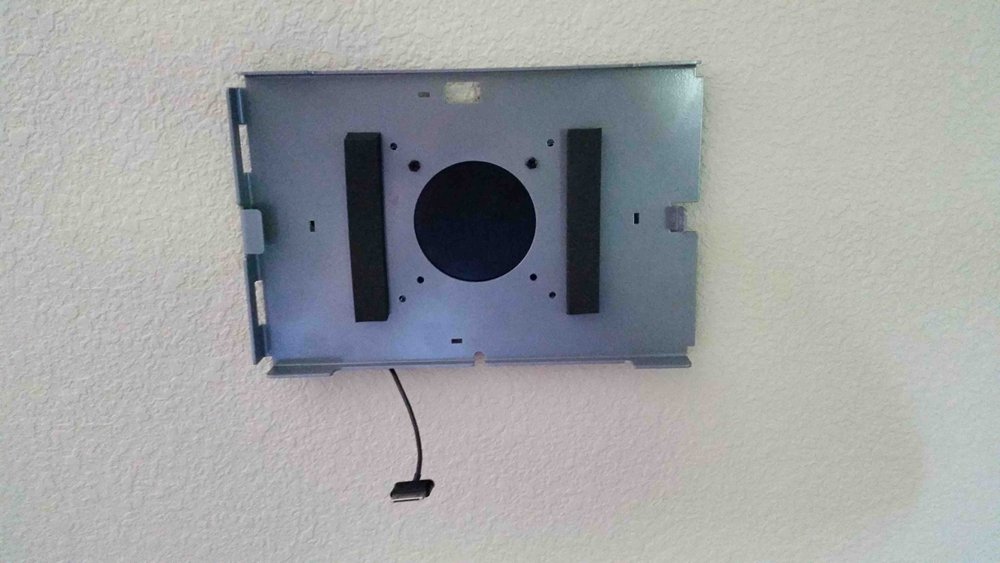
Here is a way to frame any Android based tablet and wall mount it in the frame, color and style of your choice instead of buying a metal enclosure fitting it perfectly into your existing home design.
Hardware required:
http://www.amazon.com/gp/product/B00IAZIU5Y/ref=oh_aui_detailpage_o00_s00?ie=UTF8&psc=1
— $20
http://www.amazon.com/gp/product/B00LPE4Q5A/ref=oh_aui_detailpage_o01_s00?ie=UTF8&psc=1
— $6
http://www.amazon.com/gp/product/B002W6ZOR4/ref=oh_aui_detailpage_o04_s00?ie=UTF8&psc=1
— $11
Frame custom made at Michaels
— $79
Velcro from HomeDepot or Lowes
— $14
Piece of thin wood as the backwall of the frame from HomeDepot. I got it for free as it was scrap.
— $0
= $130 Total cost (not including the tablet)
Tools needed:
– Drill for wood
– Drywall cutter
– enough cable 14/2 (code standard) to go from any light switch or power outlet to power the recessed power outlet behind the frame
– screwdriver
– Velcro within the frame and behind the frame
– Studfinder
Project:
– Frame order takes about 2 weeks at Michaels.
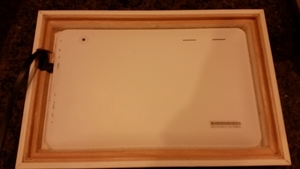
– Use the drill to make the whole for the edged power USB cable and a hole for your finger to power on/off the tablet. First attempt as you see was a hole in the front but my second tablet I mounted I made a hole at the side of the frame which looks much better
– Use Velcro within the frame so the tablet doesn’t move in any direction when you are using it
– Cut a hole in the wall after you checked for power lines and/or studs and install the recessed box for the USB receptacle (instructions come with the box)
– draw power from any existing switch or power outlet to the recessed box and ensure the wires are properly installed (outlet tester recommended)
– Install Velcro on wall and on back of frame.
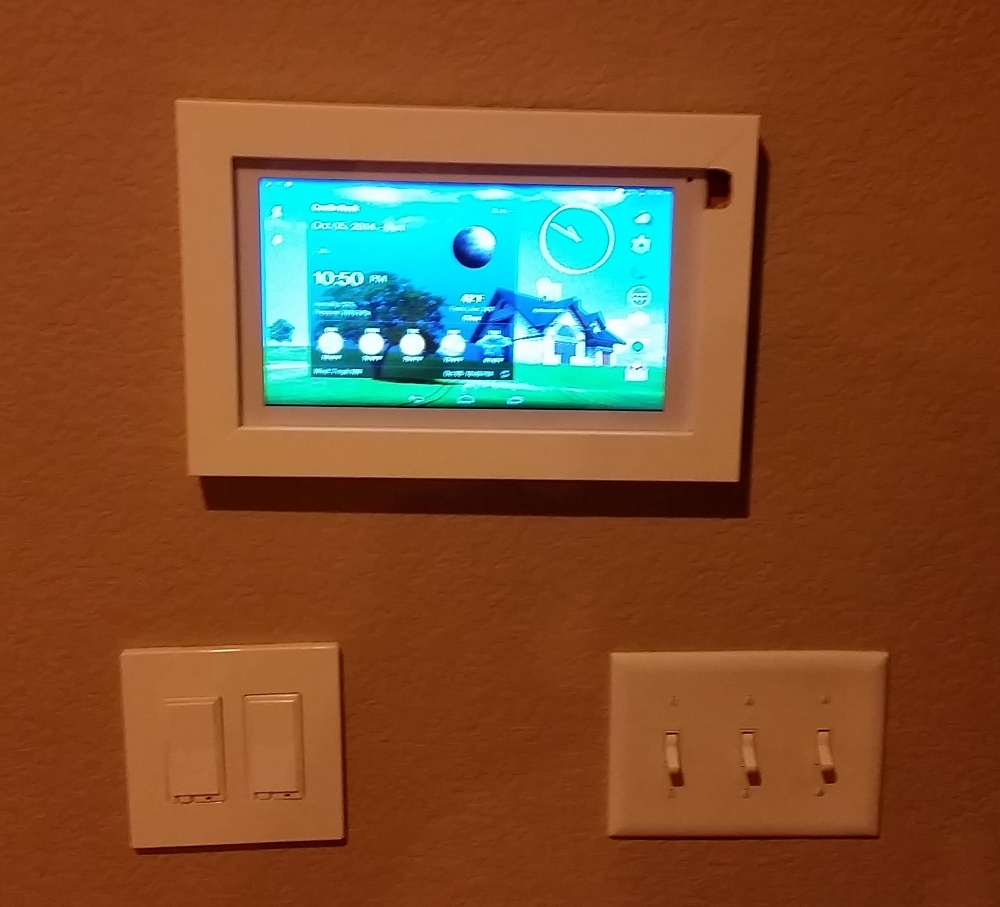
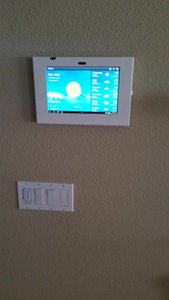
Voila!
by George Pamboris | Sep 24, 2015 | Lighting
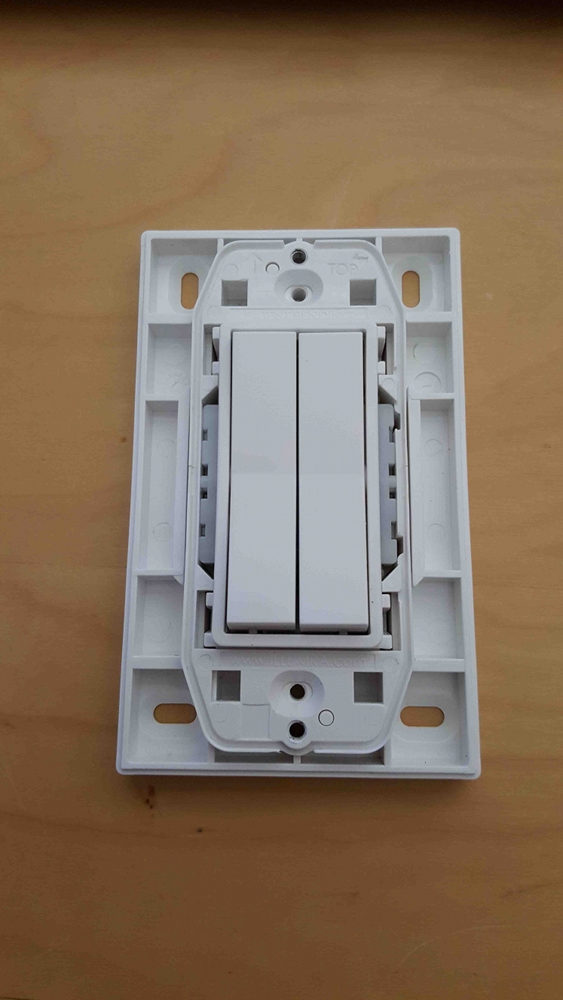
after having seen this video on Youtube https://www.youtube.com/watch?v=5bNSFaS2as8 , I started looking around and contacting a couple of companies. With the help from Enocean and their distributors I purchased the following switches on Amazon
http://www.amazon.com/WIRELESS-LIGHT-SWITCH-DUAL-WHT/dp/B00R3GR9S0/ref=pd_rhf_dp_p_img_2
http://www.amazon.com/Leviton-WSS0S-D2W-1-Gang-Rocker-Decora/dp/B003OYJS2U/ref=pd_rhf_dp_p_img_8
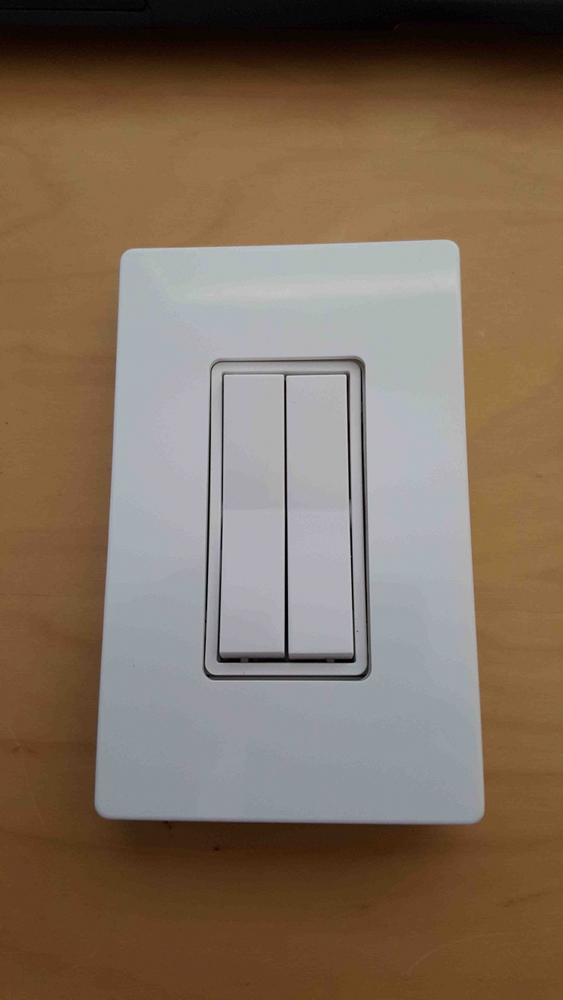
I specifically went for the dual rocker.
The good news:
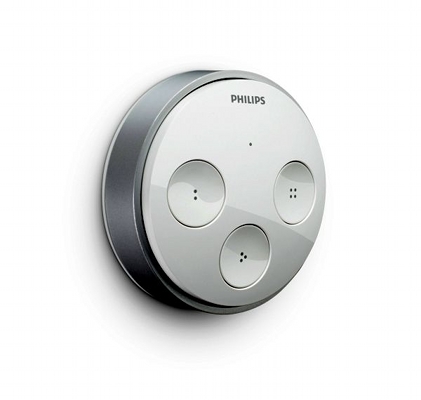
The Philips Hue Tap and this switch are using the same energy harvesting module housing. I was able to transfer the Hue Tap into this light switch by removing the existing energy harvesting module.
The bad news:
The Illumra and the Leviton switch (I bought both) are using PTM modules but the models don’t match the Hue Tap.
Leviton uses PTM210C
Illumra uses PTM210U
HueTap uses PTM215Z
I tested all those modules with the Hue bridge and only the 215Z works with the bridge.
This is the reason why those light switches are so expensive. They include those energy harvesting modules. If I could purchase the light switch without the module, I could simply use the HueTap module.
Other way around. If I could buy the light switch with the 215Z module, I wouldn’t have to buy the HueTap and I would be happy to pay 30 to 40 bucks more.
Currently I paid $60 for HueTap and $100 for the Illumra. Would I do this again? Not for that price.
Here are some pictures for you guys.
by George Pamboris | Sep 24, 2015 | Lock, Motion and Security
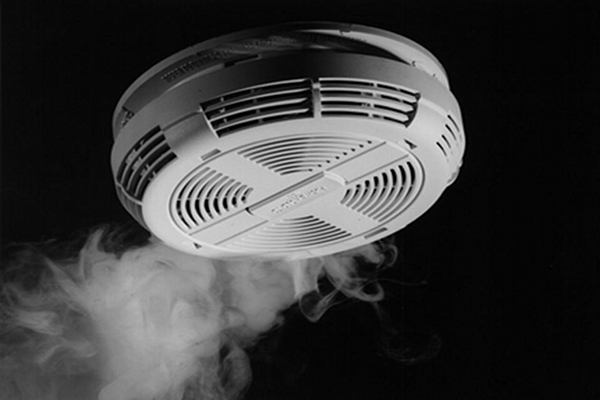
A friend of mine and I were discussing integrating Fire Alarms into our Vera’s but we didn’t want to spend money on buying Z-wave enabled Fire Alarms especially with 7 or 8 of them per house.
After going through a couple of options and ideas we came up with the following solution:
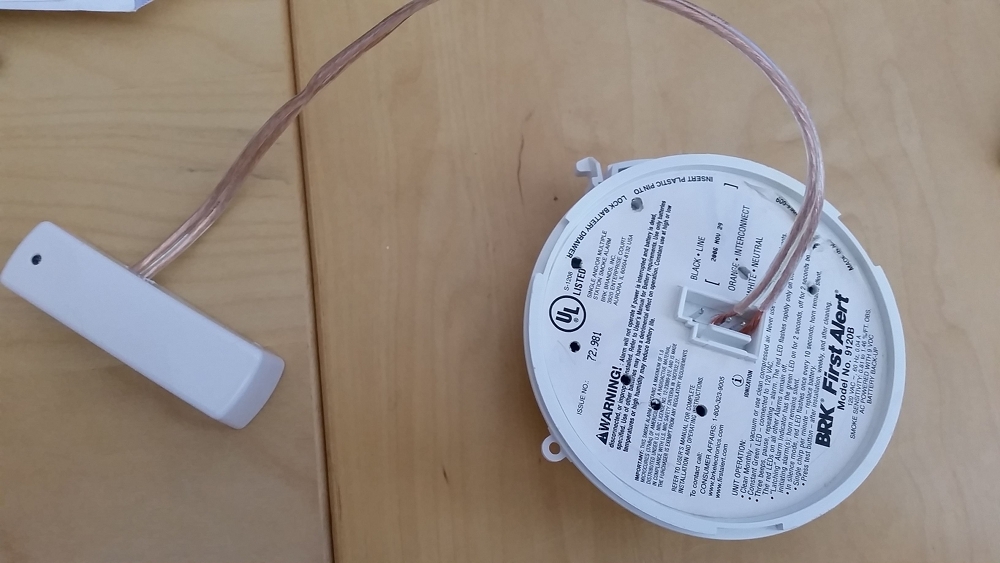
1) 1 x Door/Window TR Sensor RS100HC (disregard all the notes about Nexia) = $38
That’s it!
Typically most Fire Alarm detectors are daisy chained together. If that’s the case you have with a single Z-wave device all of them integrated into your Vera.
The reason why I chose this Z-wave device is because of the cable connectors inside the device (you can throw away the magnet) but I should point out that you need to close the device and make a small hole at the side for the cables or it won’t work at all.
First picture you see the logical test conducted and those 2 cables (see pic) trigger the Z-wave and the second picture shows how I embedded this in my basement Fire Alarm.
Result: It doesn’t matter which Fire Alarm goes off, Vera will get notified. I hope you find this information useful as it saved me about $700-$800 replacing fully functioning Fire Alarms. If you do, press the + sign under my name on the left 😉
Note: If your Fire Alarms are already integrated into your Alarm System I would suggest to integrate your Alarm System into Vera which should expose those automatically. This is what I had in my last house but not in my new house.
by George Pamboris | Sep 17, 2015 | AV
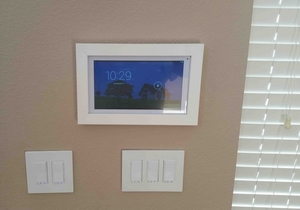
I am done with my latest project installing a wall mounted Galaxy Tab 2 10.1. This was a nightmare project and I had many setbacks but I am finally there and I painted the enclosure in white to match the other house interior.
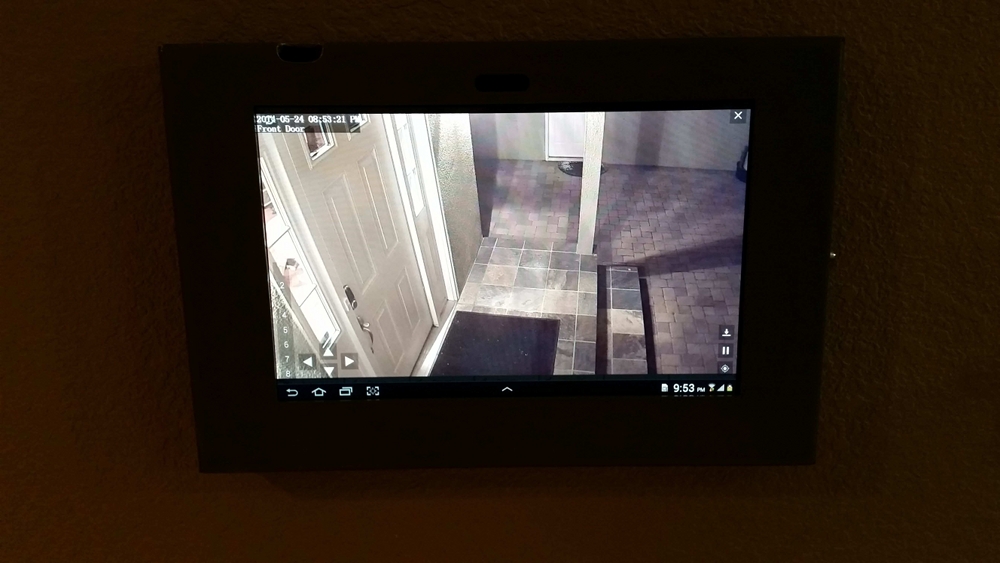
Here are some pictures and Garrett… AuthomationHD looks awesome on that wall mounted tablet. 😉
Vesa Mount: http://www.amazon.com/Adapter-Plasma-Hardware-Screws-Included/dp/B005H4GTFE/ref=sr_1_77?s=electronics&ie=UTF8&qid=1401035253&sr=1-77&keywords=vesa+mounts
Anchors: Homedepot 6 piece box for small screws. Price $1.45
Recessed Box: http://www.amazon.com/Arlington-BOX-Indoor-1-Gang-White/dp/B004ZJED5A/ref=sr_1_1?s=electronics&ie=UTF8&qid=1401035346&sr=1-1&keywords=arlington+DVFR1
Receptable with USB: http://www.amazon.com/Hubbell-Wiring-Systems-USB15X2W-Receptacle/dp/B00C5NLU5E/ref=sr_1_5?s=hi&ie=UTF8&qid=1401035514&sr=1-5&keywords=receptacle+with+usb
Cable 3 wire: To connect from existing power in the wall
Wire Connectors: 3 pieces or use existing ones if you can fit in the new cables
Galaxy Enclosure: http://www.galaxyenclosures.com/galaxy-tab-wall-mount-galaxy-wall-mount-galaxy-security-mount/galaxyenclosureblack-904.html
Total cost: $150 ish
That was the easy part. Now to the problems:
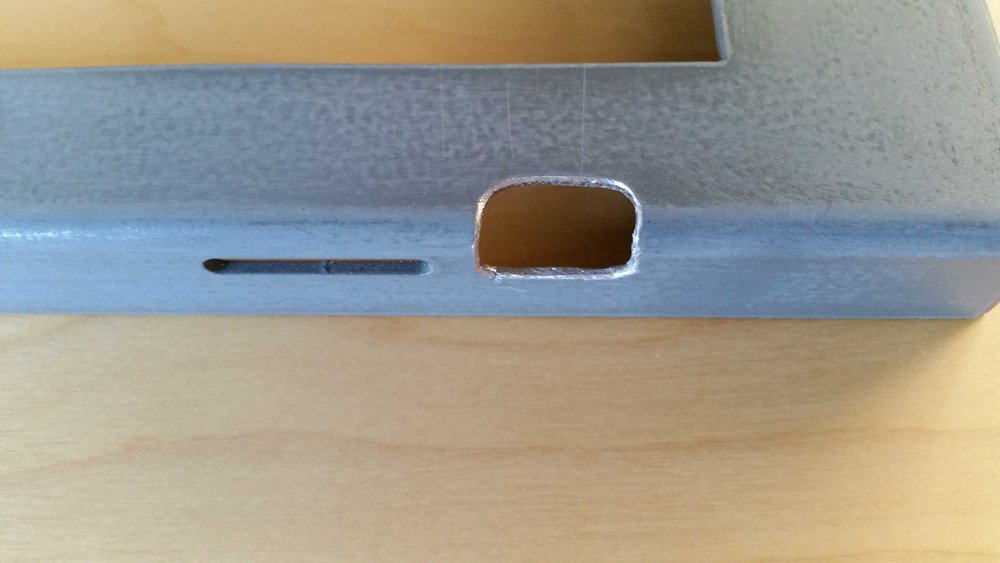
A) The Galaxy enclosure has holes to access the home button, volume rockers, etc. What they don’t tell you that those are only for technicians to access the device if needed. This means that without something tiny fitting into the hole you cannot access the home button. The Galaxy Tab doesn’t power on via screen and you have to use the home button for that, so having no access to the home button was a no-go.
Their online help is a joke and their ticketing system is a fake as nobody ever replies to any of your inquiries. Don’t count on Maclocks aka Galaxy enclosures.
After searching for hours over many days for an enclosure this was the closest one I could find which looks somehow professional so I decided to make that work by expanding the hole for the home button only as I didn’t want to mess around with Android and install software like wake-it, etc as when Android goes to sleep the display is turned off period. See picture of the expanded hole which allows now easy access to the home button. Tools needed: Drill, center punch, round and sided file and I strongly recommend a workbench clamp.
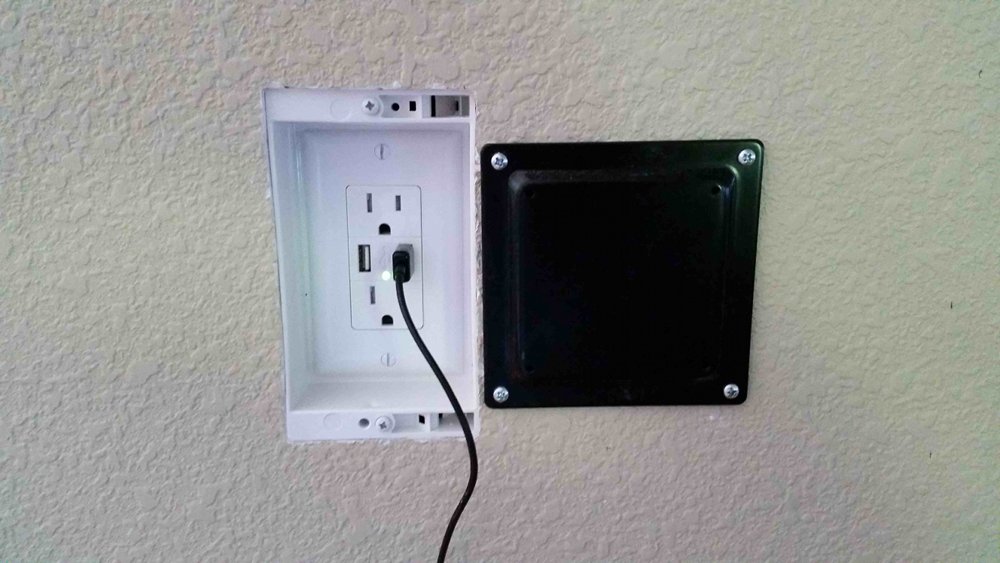
B) Next problem was to find the proper recessed box as I didn’t want this to be visible so I found the Arlington one where I didn’t install the final cover plate as it would show up at the edges behind the enclosure. Then you need to find your spot on the wall and know where you will get your power from. You need to make sure that no stud is in between your new location and the power location unless you want to drill holes into a stud. Use a professional stud finder which includes AC warning so you know where the cables are running behind the wall.
Once you have that figured out, you install the Vesa mount with the anchors. Make sure you level the Vesa mount use a water level tool. Once you have the Vesa mount installed you cut a hole into the wall with a dry wall saw. I strongly recommend to use a hand saw as you are working on a wall with cables behind and you are working very closely next to the anchors you just installed for the Vesa mount. Take your time to carefully cut the hole a quarter inch next to the Vesa mount. I also recommend that you move any isolation material to the left and to the right before you push in your recessed box to ensure a proper fitting.
Before you install the box you need to run the 3 wire cable from your power source to your new location. I suggest you install the USB receptacle in the junction box after you pushed the cable into the wall which means you have to pull out your existing switches where you want to connect to. To be safe don’t forget to power off your breakers of your house or your circuit you are working with. Then you install the box with the already connected USB receptacle, connect the cable to your existing permanent power. Don’t make the mistake of connecting your cable to a light switch cable which gets power AFTER your turn on the light switch. You need to find the hot wire to connect to without the switch being on. Use a power meter from Home Depot to figure that out ($35).
Now everything should be fine but I should point out that the receptacle I chose does NOT provide the proper power to charge the Galaxy. It has the red x which means it is charging but slowly. Not a big deal for me as this tablet is always connected on the wall but if you plan to remove the tablet occasionally, you might want to chose a different USB receptacle. My research showed that I need at least 2A USB ports and this receptacle has 3A for both ports and it does NOT work as expected.
Overall a fun project, many visits to Home Depot, online research, etc.
Lesson learned for me: Despite I hate iPads their home buttons in the front and the endless amount of enclosures you can find online make your life so much easier. I have 3 iPads at home but I am not going to switch to IOS as I am trying to move away from Apple products. With that said I strongly recommend if you use Samsung please take a tablet which has a home button in the front like the Samsung Galaxy Tab 3 or later.
by George Pamboris | Sep 15, 2015 | Lock, Motion and Security
The kitchen door lock installed and synced without any problem but the front door lock didn’t work at all. I tried over 40 times over 2 weeks before I gave up.
Then I called support and here is what I learned and what we troubleshooted.
A) When you disconnect Vera and go into battery inclusion mode the sync process is NOT complete when the lock says complete. The manufacturer recommends to let it sit next to the lock for at least 5 min. My tests showed that 2 min is sufficient but don’t take any risk here and go with the 5 min please.
B) Despite it synced when I plugged Vera back into the power and ethernet mode in the final location, it stopped in various startup phases ranging from Setting up users, securing communication, etc.
C) You will find in this forum one user where a baby camera interfered with the Z-wave so I disabled our wireless baby camera completely and it didn’t help either. Was worth a try.
D) I took the Z-wave modules from both door locks and switched them to check if the front door lock module is faulty so I did a factory reset on both and tried it again. Again, Kitchen Door lock worked, but Front Door lock did not.
E) I called support again and they shipped me a replacement lock as they had no other ideas either
F) Then I took a long ethernet cable and a long power cable and I powered up Vera right next to my front door and it worked. So instead of using the battery inclusion mode, I used the in place inclusion mode right next to my door. When I put Vera back where she should be, it stopped working again. This implied to me that something is blocking the communication. I used the original lock and the replacement lock for this test. Outcome was the same for both locks at the front door.
G) At this point in time I was considering to move my Vera to a different location but then I read about “Beaming” which is a required feature for battery operated Z-wave devices. I checked all my Z-wave devices and none of them supported beaming at that time. I was going to buy a new Z-wave controller for my Living room lights anyway so I purchased one which supports beaming.
Here is the outcome:
The 10 feet between Vera and the front door is not too far but in between we have our washing machine and dryer which clearly blocked the communication in some form or fashion. The new Z-wave scene controller I purchased is NOT in line so I used the neighbor path option to connect to the front door lock via the new Z-wave controller and voila it worked. I tried both the original and the replacement lock and with the new z-wave scene controller I was able to make both of them work so there was no need for a replacement lock.
This shows yet again that the more devices you add to your Z-wave network the more robust it gets with the exception of having to account for beaming support for battery operated devices.
You might not have the same issue but I hope my steps above might help you to resolve your issue.
P.S: I hope you ordered the free upgrade to secure your locks against the paper clip hack http://www.youtube.com/watch?v=B0jLCrWBA-M