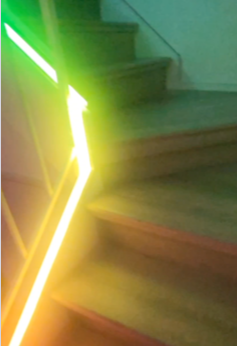
Motion activated LED stairs lights with voice control
Walking up or down the stairs at night can be made to an experience by using LED lights. Being able to have different animations or LED patterns makes this even more exciting. How do you achieve such a thing?
By using motion activated LED stairs lighting integrated into Alexa and Home Assistant based on Dig-Quad LED Controller using ESP32 with HC-SR04 ultrasonic distance sensors and UHP-350-12 Mean Well power supply.
This project can be completed in many ways from just buying the components or going the extra mile and buying LED channels, diffusers and 3D printing the casings for the distance sensors.
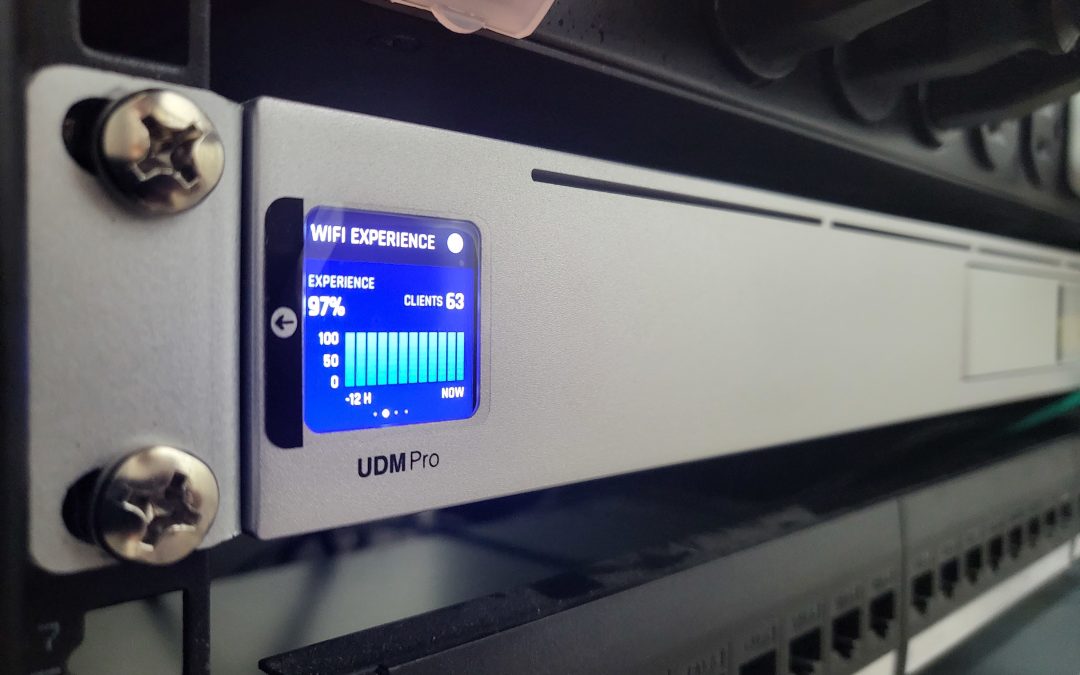
Let’s start with the core, which is the Dig-Quad LED controller from Dr ZZs https://www.drzzs.com/shop/
This controller comes with an ESP32 board already, fuses for extra protection and pre-flashed with WLED.
You could build this yourself with an ESP32 Dev board but the ease of install and the additional protection including Youtube videos on how to install, makes this a no-brainer.


Which power supply to use will depend on the LEDs you chose e.g. 5V vs 12V vs 24V and how long and how many LED strips you want to install. There are plenty of websites and calculators out there to enable you to make the math how much WATT you need for what length and voltage.
In my case, I went with 12V LEDs and given my length, I went with the 350W power supply. Another important aspect is the cooling method of the power supply. Having deployed various solutions like this, I can only recommend to avoid any fan based solution.
Those can be very loud and mechanical fans will fail. So the question is not if but when they will fail. This model here with the Mean Well UHP-350-12 is fanless and zero noise.
The fanless models might be a little bit more expensive but having a higher MTBF (meantime before failure) and no noise is certainly worth this price.
The type of motion sensor is important from a distance, false positive, price and reliability perspective.
You could go overboard with mmwave doppler motion sensor like the LD2410 in which case you have to ensure the proper voltage, etc or simply go with the HC-SR04 ultrasonic sensor.
This sensor is extremely affordable and you can actually specify the distance parameters in the WLED UI to fine tune your detection radius.
I did try the HC-SR501 motion sensor as well, but the detection reliability was not even close compared to the ultrasonic sensor, so I opted for the HC-SR04 module for the top and the bottom of the stairs.


The home assistant integration is extremely easy by installing the WLED integration. Once you enable this integration it will auto-discover all your WLED instances in your home.
As you can see in this screenshot, you can conduct firmware updates, control the intensity of the lights, you can define the segments, etc.
You could go as far as having an ESPhome Bluetooth tracker mapped to your Samsung or Apple watch and create conditions to show different patterns depending on who is going up or down the stairs.
I opted for the stairs integration natively within WLED as this integration, while being outside of home assistant, allows you to fine tune your motion sensor parameters and set the pins for the upstairs and downstairs motion sensors via the UI.
I should point out though, that this stairs integration is NOT natively in WLED. There are some binaries out there which include that integration or you can compile your own WLED binary with Visual Studio, which is what I did.
Again, you don’t have to go down that route. You can simply use home assistant to do the animations for you and you could use your own motion sensors based on Zigbee or Z-wave to trigger the lights. The possibilities are endless.
Within the WLED settings in the UI, you can specify if you want that device to be discoverable by Alexa or you can use home assistant and go into the device settings and click on voice assistant and you can decide there, if you want to expose this device to Alexa and/or Google.
A very interesting question to ask is what wins if you turn on those lights via voice and then walk up or down the stairs with the motion sensors. Will they turn off based on your timer of the motion sensors or will they stay on?
I will give you a hint… if you just use home assistant you control and decide the behavior, while using the stairs integration of WLED will do its own thing.