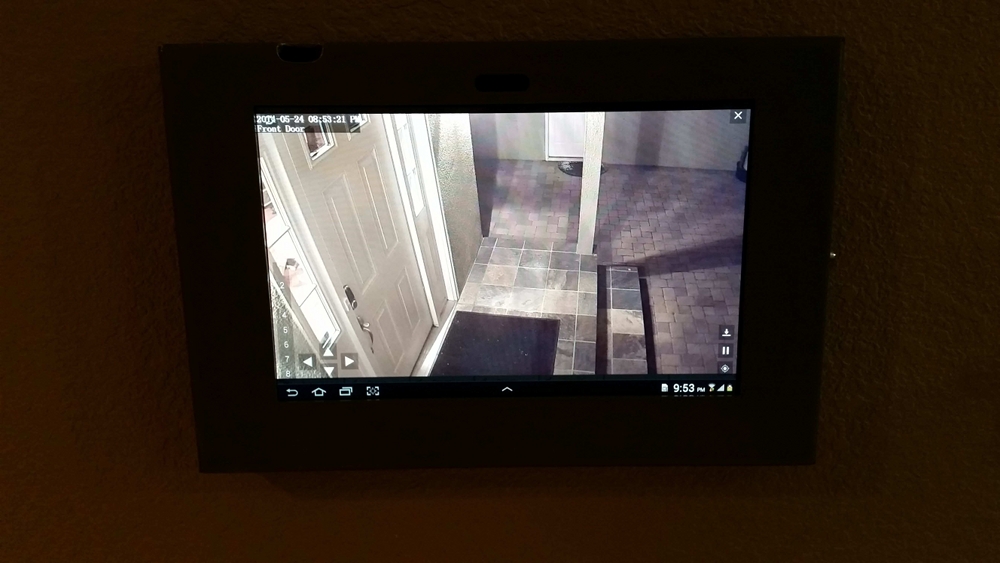
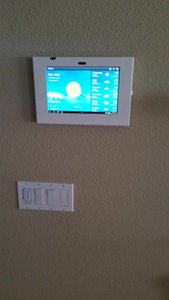
I am done with my latest project installing a wall mounted Galaxy Tab 2 10.1. This was a nightmare project and I had many setbacks but I am finally there and I painted the enclosure in white to match the other house interior.
Here are some pictures and Garrett… AuthomationHD looks awesome on that wall mounted tablet. 😉

Anchors: Homedepot 6 piece box for small screws. Price $1.45
Recessed Box: http://www.amazon.com/Arlington-BOX-Indoor-1-Gang-White/dp/B004ZJED5A/ref=sr_1_1?s=electronics&ie=UTF8&qid=1401035346&sr=1-1&keywords=arlington+DVFR1
Receptable with USB: http://www.amazon.com/Hubbell-Wiring-Systems-USB15X2W-Receptacle/dp/B00C5NLU5E/ref=sr_1_5?s=hi&ie=UTF8&qid=1401035514&sr=1-5&keywords=receptacle+with+usb
Cable 3 wire: To connect from existing power in the wall
Wire Connectors: 3 pieces or use existing ones if you can fit in the new cables
Galaxy Enclosure: http://www.galaxyenclosures.com/galaxy-tab-wall-mount-galaxy-wall-mount-galaxy-security-mount/galaxyenclosureblack-904.html
Total cost: $150 ish
That was the easy part. Now to the problems:
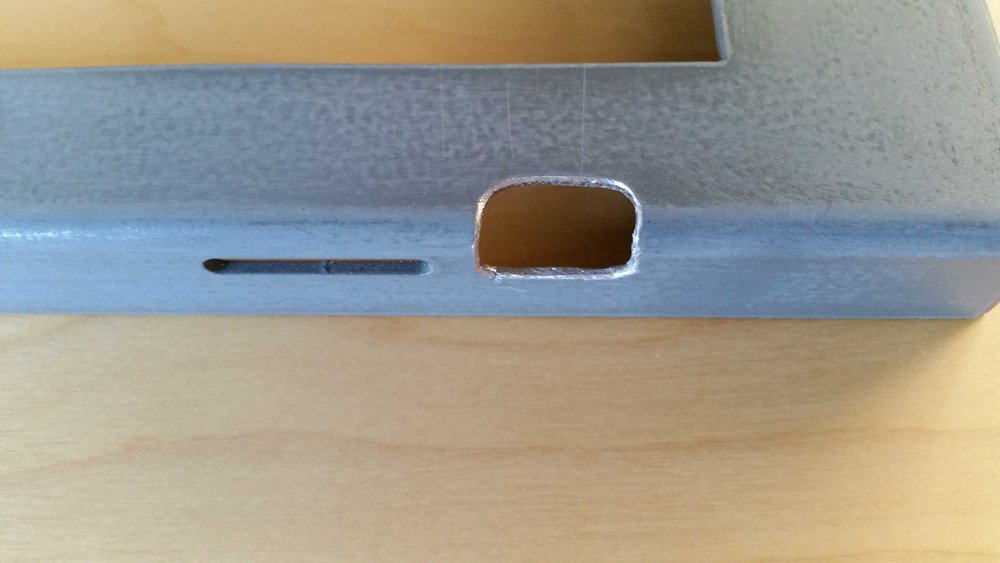
A) The Galaxy enclosure has holes to access the home button, volume rockers, etc. What they don’t tell you that those are only for technicians to access the device if needed. This means that without something tiny fitting into the hole you cannot access the home button. The Galaxy Tab doesn’t power on via screen and you have to use the home button for that, so having no access to the home button was a no-go.
Their online help is a joke and their ticketing system is a fake as nobody ever replies to any of your inquiries. Don’t count on Maclocks aka Galaxy enclosures.
After searching for hours over many days for an enclosure this was the closest one I could find which looks somehow professional so I decided to make that work by expanding the hole for the home button only as I didn’t want to mess around with Android and install software like wake-it, etc as when Android goes to sleep the display is turned off period. See picture of the expanded hole which allows now easy access to the home button. Tools needed: Drill, center punch, round and sided file and I strongly recommend a workbench clamp.

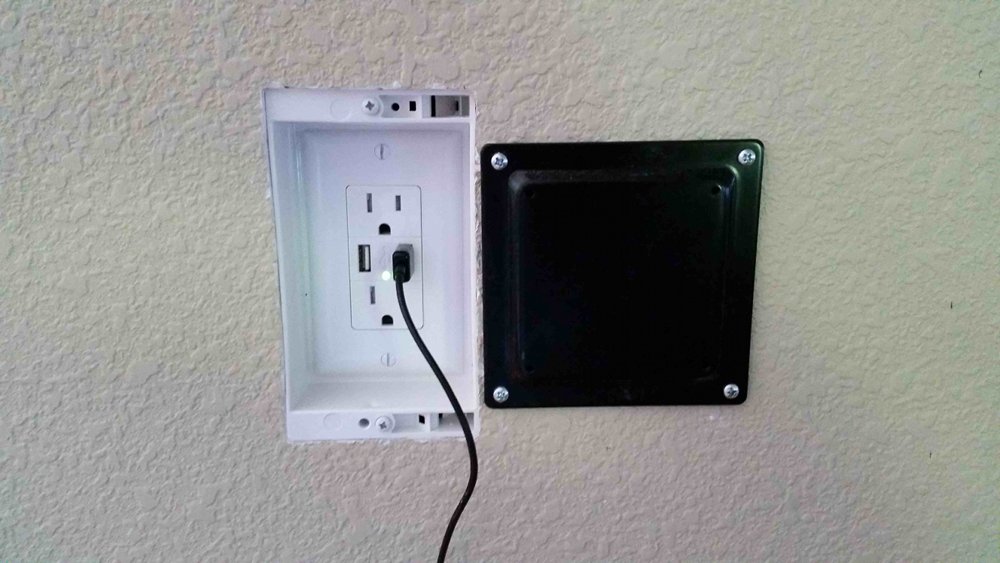
B) Next problem was to find the proper recessed box as I didn’t want this to be visible so I found the Arlington one where I didn’t install the final cover plate as it would show up at the edges behind the enclosure. Then you need to find your spot on the wall and know where you will get your power from. You need to make sure that no stud is in between your new location and the power location unless you want to drill holes into a stud. Use a professional stud finder which includes AC warning so you know where the cables are running behind the wall.
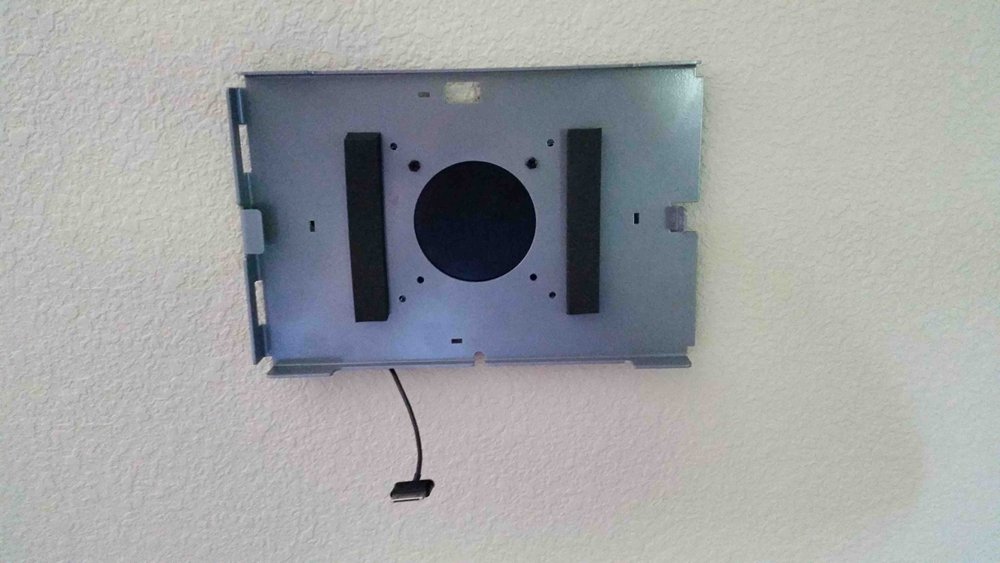
Once you have that figured out, you install the Vesa mount with the anchors. Make sure you level the Vesa mount use a water level tool. Once you have the Vesa mount installed you cut a hole into the wall with a dry wall saw. I strongly recommend to use a hand saw as you are working on a wall with cables behind and you are working very closely next to the anchors you just installed for the Vesa mount. Take your time to carefully cut the hole a quarter inch next to the Vesa mount. I also recommend that you move any isolation material to the left and to the right before you push in your recessed box to ensure a proper fitting.
Before you install the box you need to run the 3 wire cable from your power source to your new location. I suggest you install the USB receptacle in the junction box after you pushed the cable into the wall which means you have to pull out your existing switches where you want to connect to. To be safe don’t forget to power off your breakers of your house or your circuit you are working with. Then you install the box with the already connected USB receptacle, connect the cable to your existing permanent power. Don’t make the mistake of connecting your cable to a light switch cable which gets power AFTER your turn on the light switch. You need to find the hot wire to connect to without the switch being on. Use a power meter from Home Depot to figure that out ($35).
Now everything should be fine but I should point out that the receptacle I chose does NOT provide the proper power to charge the Galaxy. It has the red x which means it is charging but slowly. Not a big deal for me as this tablet is always connected on the wall but if you plan to remove the tablet occasionally, you might want to chose a different USB receptacle. My research showed that I need at least 2A USB ports and this receptacle has 3A for both ports and it does NOT work as expected.
Overall a fun project, many visits to Home Depot, online research, etc.
Lesson learned for me: Despite I hate iPads their home buttons in the front and the endless amount of enclosures you can find online make your life so much easier. I have 3 iPads at home but I am not going to switch to IOS as I am trying to move away from Apple products. With that said I strongly recommend if you use Samsung please take a tablet which has a home button in the front like the Samsung Galaxy Tab 3 or later.