Alexa enabled Retro-gaming

Many adults remember the times playing Arcade, Nintendo, Gameboy, Atari or Sega games at either at a Arcade game place, on their own console or at their friends house. Some of those games have been ported to Platforms like Xbox or Playstation but only a few games can be found and most certainly not Nintendo games. If you think that the adults are the only ones playing retro-games you should think twice as today’s kids will not miss an opportunity to play any console games – retro or not.
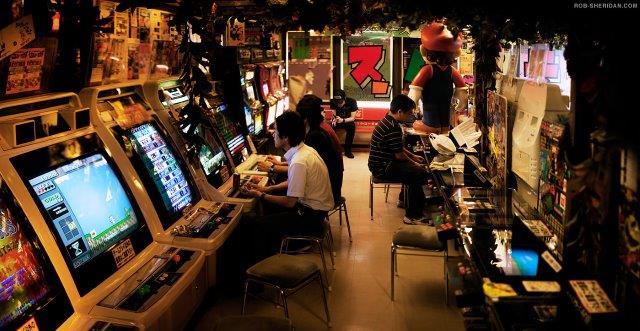
You could go to places like Dave & Busters or Chucke E Cheese for Arcade games but those places have mostly embraced racing simulators and shooting arcades and you won’t find Super Mario Brothers or Legend of Zelda in those places. So unless you visit Japan where Arcade halls are still trendy, you won’t find real retro games.


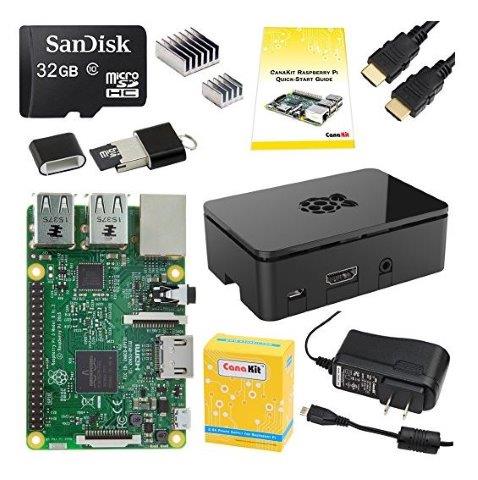
You can create your own console to play all those game brands listed above. What you need is a Raspberry PI, SD card, HDMI cable, Power adapter, a case and how many controller pads you want. There are 2 popular solutions out there. One is called RetroPie and the other one is called RecalBox. In this blog I am going to post how to create your own console using RecalBox but the same concept applies to RetroPie.
Hardware to purchase
- Raspberry PI 3 $30
- Raspberry PI Heat sink set $5
- SD Card (at least 16GB, recommended 32GB or more) $20
- Power Adapter for Raspberry PI 3 $10
- Raspberry PI 3 case or custom case (more about this later) $7
- HDMI cable $7
- Bluetooth/Wired game controller pad(s) $13 for wired $40 for wired and bluetooth combined
- Bluetooth keyboard and touchpad (optional) $25
Total cost: $79 + cost of game controllers
You can buy the Raspberry Canakit for $69 on Amazon which includes USB card adapter micro SD card.
I bought the kit and I bought two game controllers with bluetooth and wired, so in case the batteries run out, I can plug them in and continue playing. My total cost was: $160 running 758 NES Games and numerous other games from other consoles
You can buy the NES Classis bundle for $350 on Amazon which includes 2 controllers or go to Ebay and bid for home made look a likes. In November NES will release again a $59 or $69 version of the NES Classis, which will be sold out immediately and then offered on Amazon and Ebay for hundreds of dollars like last year before Christmas.
So instead of copying the step by step instructions on how to install Recalbox, I will simply put the link here on where to obtain the software and how to install the operating system.
Visit https://www.recalbox.com/diyrecalbox and follow the instructions to get your Raspberry PI running the Recalbox OS. Download the SD Card formatter software and the Recal OS. Extract the ZIP file and then copy the complete contents of that folder onto the SD card. Once that process completes you can power on your retro-gaming console.
Configure your WiFi settings and run the auto updater. Please be patient during the WiFi setup as it will look like the system is hanging. I do recommend to reserve an IP address in our router settings for your Recalbox.
I used my Bluetooth keyboard and the game controller to setup the WiFi settings as typing in password with a game controller is non-trivial. Once you apply the updates the system will tell that it will reboot. You might have to restart the Recalbox yourself if the screen doesn’t come back online and then the system update will start.
Adding Games to your console
The good news is that once your Recalbox joined your WiFi network it will be visible under your Windows Explorer network. It will show up as Recalbox or any other hostname you have given your Recalbox in your settings.
Once you double click that network device it will ask for a login. The username is “root’ and the password is “recalboxroot”. Now you have access to all the folders. You will find a folder called ROMS and within that folder each emulator will have its own folder. Go to the NES folder.
Now it is time to download some games. There are various places to download the ROMs and I will provide one for now. http://www.mediafire.com/file/5pe60avkiglc94r/758NS.rar This package will contain 758 NES games. Extract the folder and copy the content from the NES folder on your PC into the network share from your Recalbox. Once uploaded go into your Recalbox settings under Game settings and refresh the game list or simply reboot your Recalbox. Congrats! Now you have 758 Games to play!
Integration of Recalbox into Alexa
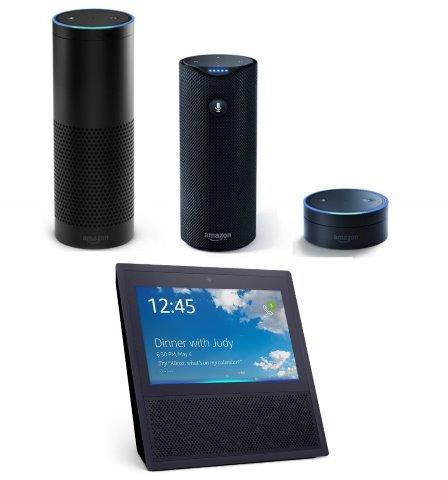
In this scenario I am going to demonstrate how to power on/off the Recalbox via your smart home hub, integrate this into your Logitech Harmony hub and then control the whole setup via Alexa with one simple command.
The first task is to attach the Recalbox power supply to a Z-wave enabled outlet or any outlet which can be controlled by Alexa. The reason why you want this is because you don’t want your Recalbox to run non-stop even if the TV is powered off.
Next task is to go into your Harmony hub (if you don’t have one yet you should buy one for $99 on Amazon) software (Desktop or Cell phone) and create a new scene. Give the scene a name you will recognize easily e.g. “Retrogame scene”. In this scene you define which device should be powered on in which order and to what channels those devices should be configured to.
Example:
- Turn on Yahama Surround Sound Receiver
- Set Yahama Surround Sound Receiver to HDMI3 (Recalbox is attached to HDMI3)
- Turn on Samsung TV
- Set Samsung TV to HDMI1 (Yamaha is connected to HDMI1)
Next task is to go into the Amazon Alexa app and discover devices. 2 new things should show up. A) is the new scene from the Harmony Hub and B) is the switch to power on/off the Recalbox. Now create a new group in the Alexa app and call this group “Nintendo”. Add both items to that group (the scene and the device). Et Voila! Congrats. You have now a voice controlled Retro-gaming console with 758 Games!!!

Retro-case for retro-gaming console
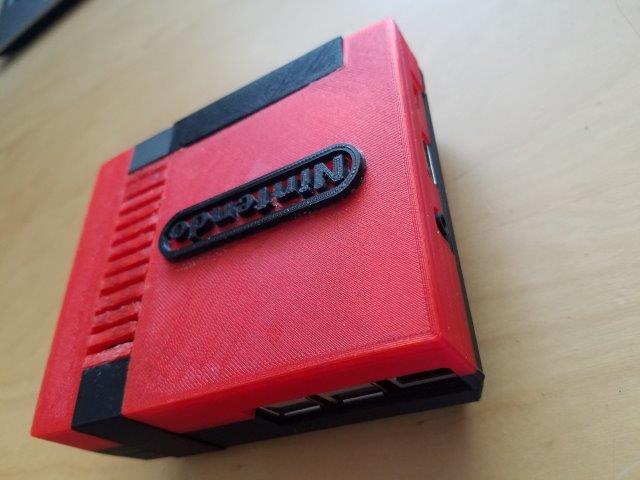
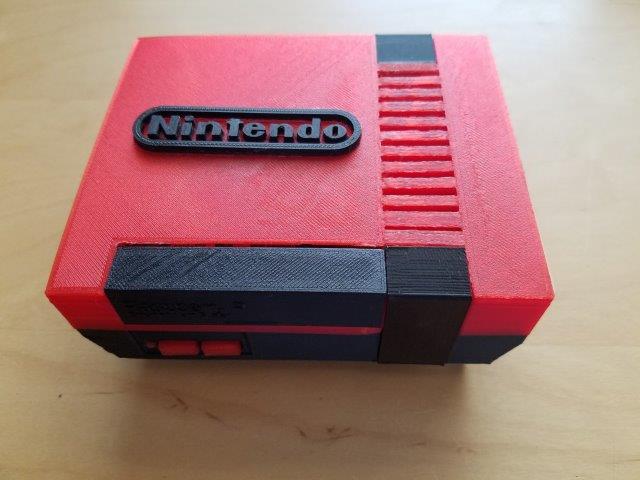
To make this experience really “retro” I decided to print a case and replace the Raspberry PI standard case with a Nintendo style casing. I found this https://www.thingiverse.com/thing:1887826 casing online, which is a modified version of the original casing https://www.thingiverse.com/thing:307832. The difference between the original and the one I chose is that you can choose how to install your Raspberry into the case.
I tried the sideways one and I have to say that this was a complete failure as the USB ports are within the case with no access to it. I recommend to use the upside down version of the 3D STL file, which will expose the HDMI, Power, 3.5mm sound jack, all USB and the Ethernet port. You can print it in the original Nintendo colors or chose a different color scheme like I did. To finalize the design I printed the Nintendo logo and glued it on.
