by George Pamboris | Jun 28, 2017 | AV, Video Camera, Voice Control
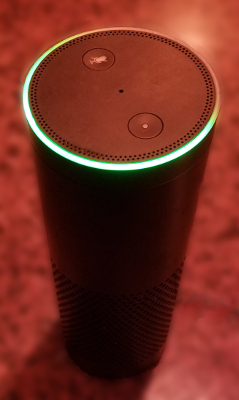
Amazon released a new software update allowing you to use your Alexa and Dot devices as intercom devices within your household using the green ring from the Alexa calling feature as an indicator. Just in time with the release of the Echo Show, Amazon released an update which allows you to enable a feature called “Drop-in”.
This feature can be configured per Alexa or Dot device to enable or disable drop-ins. The end user can use his or her cell phone via the Alexa app and call any device within the home.
The end user can also use any Alexa or Dot to call any device within the home by simply saying “Alexa, drop-in {device name}” for example “Alexa, call echo living room”.
This feature even works without being at home and connected to your home WiFi. You can use the Alexa app to connect and drop-in to any Alexa or Dot device, while being on the road and speak to your family.
Adding now Echo Show to the mix allows you to have a video chat conversation from your cell phone via the Alexa app and the Echo Show in real time.
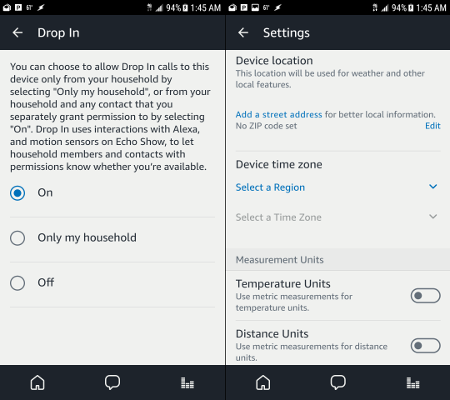
For the initial setting the end user has to enable the “drop-in” feature and all devices will get enabled for drop-in. With that said, every device can be configured individually to support the drop-in feature or not.
You can select “On”, “Only my household” or “Off”. The “On” feature will allow any contact within the Alexa app, after having imported your phone contacts and checked which of your contacts has Alexa or Dot devices, to connect to your devices via drop-in.
The good news is that the default setting for every contact is “Off” for drop-ins. This means even if you enable the drop-in feature by simply saying “On” instead of “Only my household” nobody from your Alexa app contact list is able to drop-in unless you specifically allow the drop-in feature for that specific user.
All household members are by default enabled to drop-in without permission but even this can be disabled. You are also able now to block contacts within the Alexa app, which was a big issue at the beginning when the Alexa calling feature was released.
Seems like a lot of thought went into the default settings here with security in mind, while offering flexibility to expand the circle of users as needed. Families can now connect between houses e.g. Grandma/Grandpa can drop-in to the family household and vice versa.
The setup didn’t work immediately on all Alexa or Echo devices. Troubleshooting the issues did require some time and I wanted to share those experiences here as well.
One Alexa devices did not react at all to any drop-in request and the Alexa app on the cell phone or any other Alexa or Dot device wasn’t able to reach that specific Alexa as this Alexa was on the 5G version of my Home Wifi. Once I switched that WiFi setup to the regular WiFi the cell phone and all other devices were able to drop-in into that Alexa.
Another Dot device was not reachable either and this was due to the settings of that Dot device. This was a brand new Dot device, which was just configured for WiFi and no other settings were configured like Zip code and Time Zone. After those settings were entered, this device became reachable via drop-in as well.
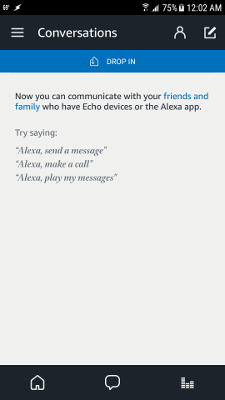
Another important thing to mention is the naming of each Alexa or Dot device. If you change the name of any device to make it easier to drop-in or call that device, the Alexa app and the device do not immediately recognize that changed name. I found out, that if you on your conversation screen with the new blue bar stating drop-in, if you pull down like refreshing a browser page, then the new name will be refreshed almost instantaneously.
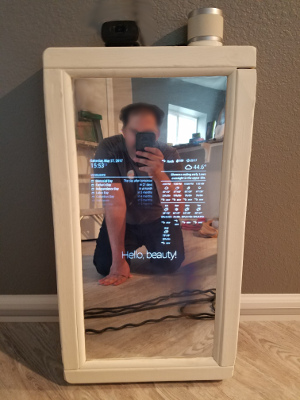
Last but not least I tried to connect my Magic Mirror Prototype and use the drop-in feature with that device. Unfortunately there is no option to enable the drop-in on that device using the Alexa Voice service API.
The video API and Echo Show integration was just released so I can only assume that it is a matter of time until this functionality will become available on other devices running Alexa Voice Skills and APIs.
Conceptually speaking having a smart mirror with a webcam and a speaker built-in would be a great addition for any bathroom. I would like to see a gesture to reject a drop-in or a voice command to deny or accept a drop-in given the location of the typical smart mirror, which would be the bathroom.
Overall the drop-in feature is a great addition to the Alexa and Echo Dot family and with the release of the Echo Show and its video integration there will be a lot of communication be happening within the household and between households.

by George Pamboris | Jan 14, 2017 | Lock, Motion and Security
Two new Z-Wave Plus Door sensors have recently hit the market.
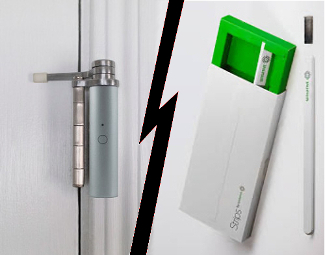
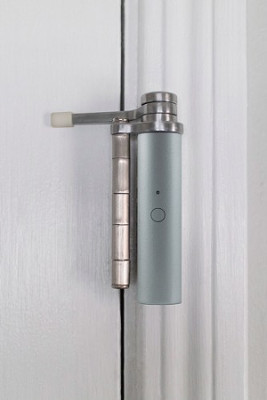
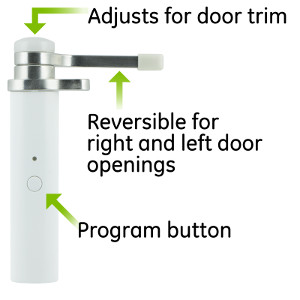
The GE Hinge Pin Smart Door Sensor is the latest. But, is it the greatest? It looks like a door hinge, and attaches like one too making it discreet. It has remote monitoring that will alert your smart phone or tablet if door is opened or closed. Scenes can also be set up to turn the lights on or off. For example, if the door is opened turn on the lights. It really is a nice feature to come home to.
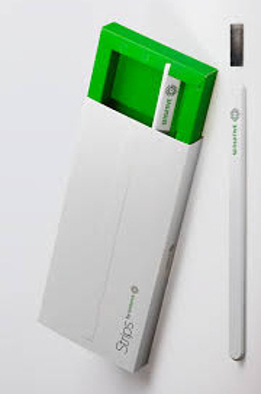
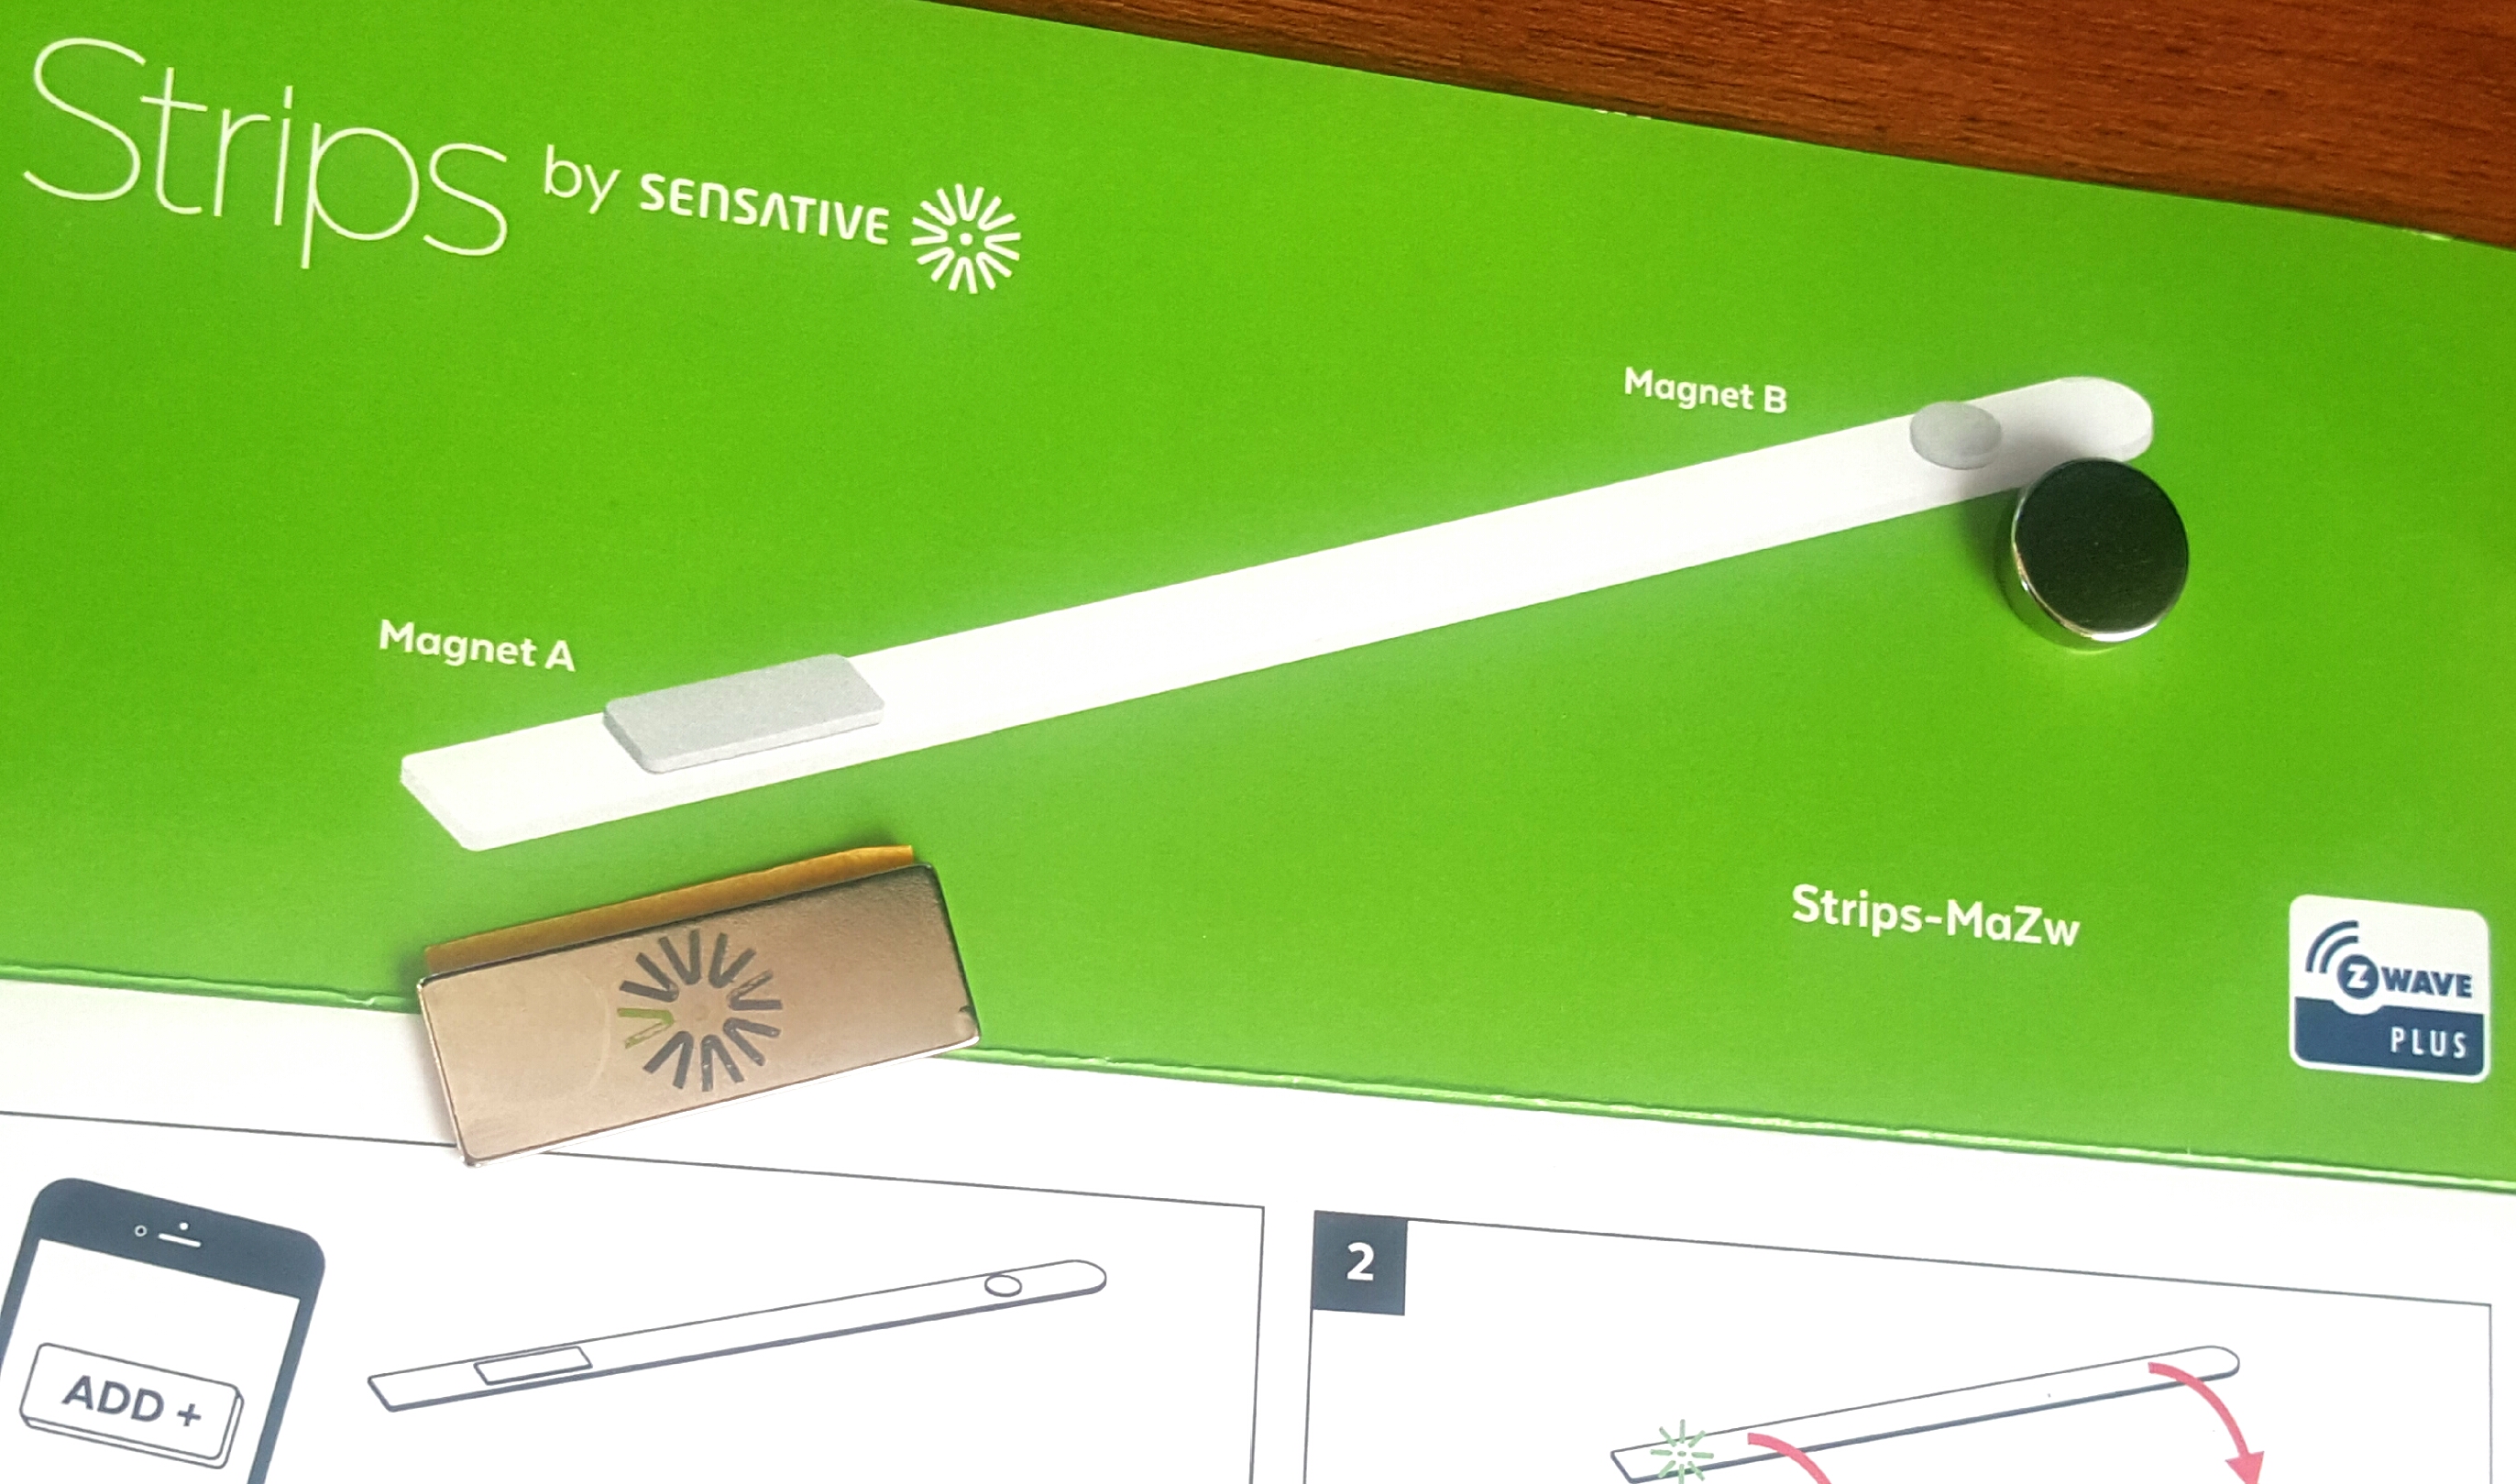
Strips by Sensative is the other new Z-Wave Plus door sensor on the market. It’s a white strip about a half and inch wide and about as long as a pencil that is placed on the door or window. It works with magnets to trigger if opened or closed.
Strips can do everything the Hinge Pin can do and more, but have a different look, so it really depends on personal preference. One advantage Strips have over the Hinge Pin is it can be used to monitor windows as well as doors. The Hinge Pin is a door only device.
Strips also claims to have a 10 year battery life compared to the Hinge Pin’s relatively short 2 year battery life. However, it is important to note the Hinge Pin’s battery can be changed after 2 years. There is no way to get into Strips to change the battery, so after 10 years when the battery stops working it has to be thrown away and replaced.
So, how does the GE Z-Wave Plus Hinge Pin Smart Door Sensor Compare with Z-Wave Plus Strips by Sensative?
Both the Hinge Pin and Strips are winners depending on individual preference and need. However, while the Hinge Pin may have a slight aesthetic advantage over Strips, Strips definitely wins the prize for utility and longevity. A 10 year battery life is pretty impressive. And, Strips are weatherproof! The Hinge Pin has limits, but is a tad less expensive.
Below is a comparison chart comparing the two feature to feature.
Strips
$55
- Remote Smartphone Monitoring
- Ability to Trigger Scenes
- Activity Alert to Smartphone
- Able to use on Windows
- Works with Cupboards and drawers
- Can be used on Doors
- Battery Life of 10 years
- Weatherproof for Outdoors
- Easy Setup
- Barely Visible and Discreet
Hinge Pin
$40
- Remote Smartphone Monitoring
- Ability to Trigger Scenes
- Activity Alert to Smartphone
- Able to use on Windows
- Works with Cupboards and drawers
- Can be used on Doors
- Battery Life of 10 years
- Weatherproof for Outdoors
- Easy Setup
- Barely Visible and Discreet
There are many reasons someone might want to monitor door and window activity in their home. The top reason is, of course, security. It’s important to make sure the kids aren’t snooping in your bedroom, or simply to know when someone has entered your home, through a door or window if there are no cameras in place. Even with cameras, the added security, piece of mind and use possibilities these devices add to our lives make them welcomed and valued new members of the Z-Wave Plus family.

by George Pamboris | Jan 26, 2016 | Lock, Motion and Security
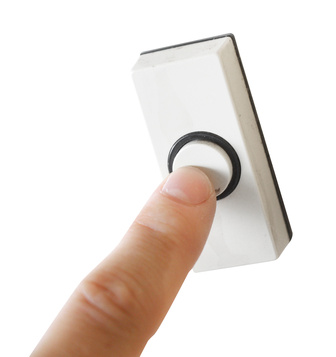
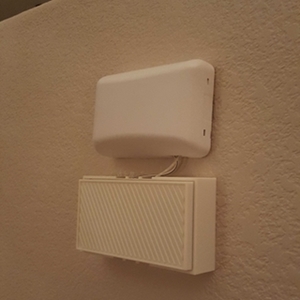
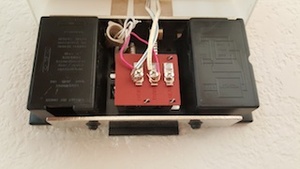
To integrate your existing conventional doorbell into any existing Z-wave eco system, you have a variety of options to go about it. The method I chose was the easiest while requiring a little more hardware in terms of having to mess with timeouts, repetitive doorbell pressing, too long presses of the doorbell, etc.

Here is the hardware (total cost $60):
Elk Project Box
Relay
Door/Window Sensor Option 1
Door/Window Sensor Option 2
Integration process:
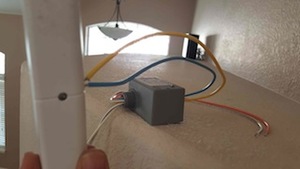
The N.C. terminals of the relay are wired to the external terminal connector on the Everspring window/door sensor, preventing the sensor from always showing as tripped in the home automation system.

The relay is powered from the existing 24V power in the doorbell when the button is triggered and it also covers quick presses or long presses which otherwise could cause scene issues with your existing home automation system.

Connect the “white with blue stripe” wire and the “white with yellow stripe” wire from the relay to the transformer terminals. Then connect the solid “yellow wire” and “solid blue wire” from the relay to the wire input terminal on the Everspring door/window sensor.
Integration into Vera or any other home automation is a breeze now. You create a trigger scene.

Once the doorbell is being pressed the SM-103 will change state which you can detect with a trigger and then this could start any desired scene. As you can see in the video below the doorbell triggers a scene which makes Sonos speakers announce that somebody is at the door. You can control lights, etc as well.
If you want to get really fancy you can use PLEG and after you install the night/day plugin on Vera you could do things like “If night and doorbell pressed then enable front door light and announce on speakers” otherwise “doorbell pressed then announce on speakers”.
You will also see in the video below that the doorbell triggers the tablets to open the video app to show on all tablets in the house who is at the front door. I will cover this in the next post on how to integrate a video intercom system with the doorbell system.

