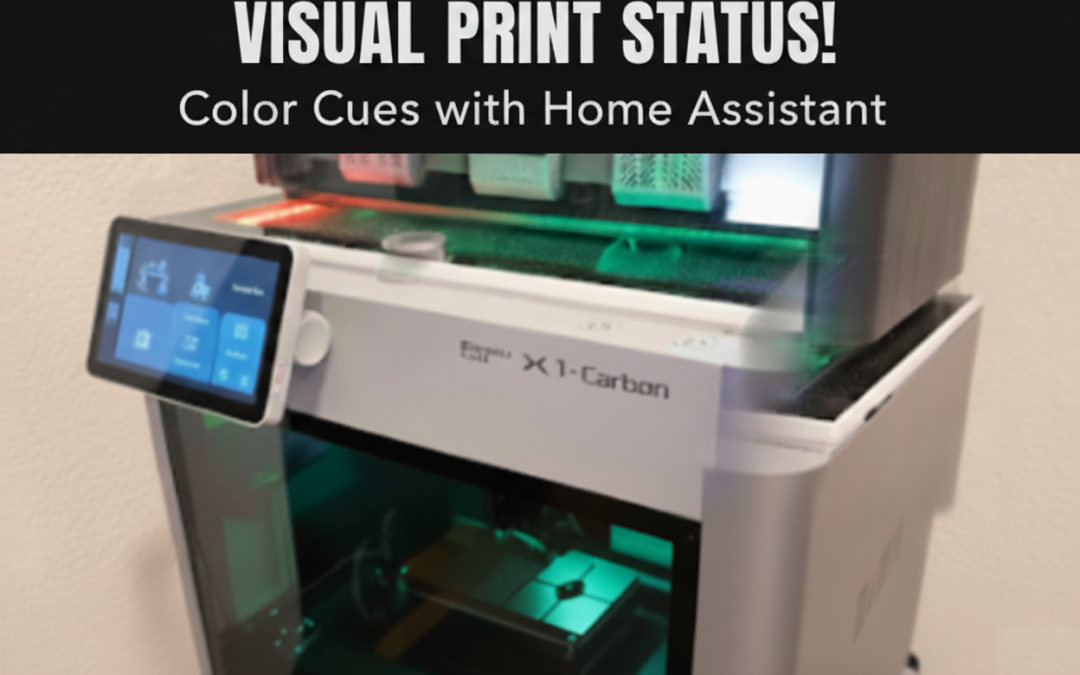
Visual Print Status – Color cues with Home Assistant

Many people are using 3D printed modifications for adding LED lights to their Bambu X1C printer.
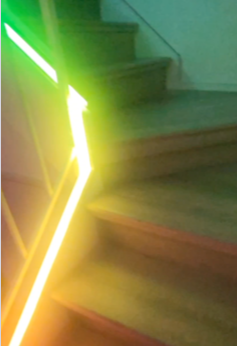
You can see the riser with a 45 degree angled LED below from the riser featured on printables. Credits to https://www.printables.com/model/365027-bambulab-top-glass-riser-4-cob-led-remix-with-led-
This setup has a separate power supply. The normal people would simply power that on e.g. white LEDs, when they power on their 3D printer. Not was not ideal and not what most people actually want.


The choice to better control the lights and also add color was using an ESP32 micro controller running WLED. If you are not familiar with this, I would suggest to check it out. There are numerous postings and instructions online on how to control all kind of LED lights with ESP micro controllers or others using the WLED software.
Check out the WLED software here https://kno.wled.ge/ and you can find all the instructions on how to create a functional LED controller.
For my setup I used 144 LEDs / Meter for better coverage and not having to install any kind of diffuser.
The power supply will depend on what LEDs you chose as you can buy them with 5V, 12V or 24V. As a thumbnail people usually use 0.3 Watt / LED meaning if you have 144 x 0.3 = 43.2 Watt. For safety the recommendation is a 20% buffer resulting in a 50 Watt power supply for my case. Again, make your own choices depending on which LEDs, voltage and length you want.
Using WLED to control the LEDs is great, but you want this to be automated. You can use many automations to drive light and color control.
In my case I am using Home Assistant https://www.home-assistant.io/ and there is an integration for WLED you can install to detect and control WLED instances.
Once you control the WLED instance of the 3D Printer lights using Home Assistant, you can automate this by installing the Bambu printer integration in Home Assistant as well.
That integration provides you a lot of printer information, but more important status information enabling you to drive automations like this.
As a result you can get visual cues covering the print process in white for power on or during printing by coupling the LED lights to the status of the chamber light of the Bambu X1C printer.
When a print failed, you can trigger the red light and after the printer finished successfully, you can enable the green light.
You can reset the light status to white when a print starts. Of course, you can implement your own logic as I am only exposing here what is possible and what I implemented for my 3D printer setup at home.


You can implement a single automation to drive all LED status cues, but this can become really complex really quickly.
It is much easier to implement one automation for each color or cue, as you can see in the screenshot of the Home Assistant automation page.
Once the automations are setup, Home Assistant will drive the color cues automatically.
When you power on the printer, it starts with white based on the chamber light being turned on.
When you start a print, it enables the white color, which is also used to reset the color after it has turned green or red.
You can also run automations to notify your cell phone when a print is finished or failed.
Yes, you could use the Bambu lab app on your phone, but having to open the app and loggin in and then clicking on the live stream when you only want to know if it succeeded or not is overkill.
WLED is so powerful, you could run animations as well like a specific pattern of lights in repetition or just once before turning on a specific color. The possibilities are endless here.
You could also turn off the lights after a certain period including the chamber light if power consumption is a concern.
You could replace the chamber light as well to match the LEDs, but that would require modifications of the existing wiring and I wanted to keep my adjustments reversable.


In summary, you can 3D print the riser from printables, purchase an ESP32 controller and install WLED on it, purchase LED lights of your choice and make sure they fit into the riser channel.
You install the WLED and the Bambu lab printer Add-ons in Home Assistant and discover the WLED controller and call those “Printer lights”, which is also nice to be able to voice control those via voice e.g. Alexa or Google Home or Nabu from Home Assistant.
This proejct took me two weekends once all parts arrived including printing time.
One weekend spent on the hardware and one weekend spent on the software and integration and automation.
I can truly say, coming down in the morning into my office and just looking at my 3D printer and seeing a green color is telling me already that it succeeded.
Is there a chance that you could have a failed print and it shows green? Yes, but the AI of the Bambu printer is pretty good in detecting issues.
I hope you found this helpful. Feel free to reach out with questions. Happy to answer and if you other ideas like this please share.
Thanks.